A pumpkin carving stencil is the shortcut behind most detailed pumpkins you see online. Instead of drawing freehand, you print a design, transfer it with dots, and carve along a proven pattern. This guide shows you how to pick, place, and carve a stencil cleanly, then how to make the finished pumpkin last as many evenings as possible.
Stencils come in levels, from simple faces to shaded scenes. Start one level below your ambition for your first try, and the result will still look far beyond a basic face.
What You Need
- A printed pumpkin carving stencil, sized to your pumpkin
- Tape, and a poker tool or pin
- A carving kit with fine and standard saws, plus a scraping tool
- A spoon or scoop, and a marker
- Petroleum jelly, and a spray bottle
- A battery tea light or LED candle
Step 1: Choose and Size Your Stencil
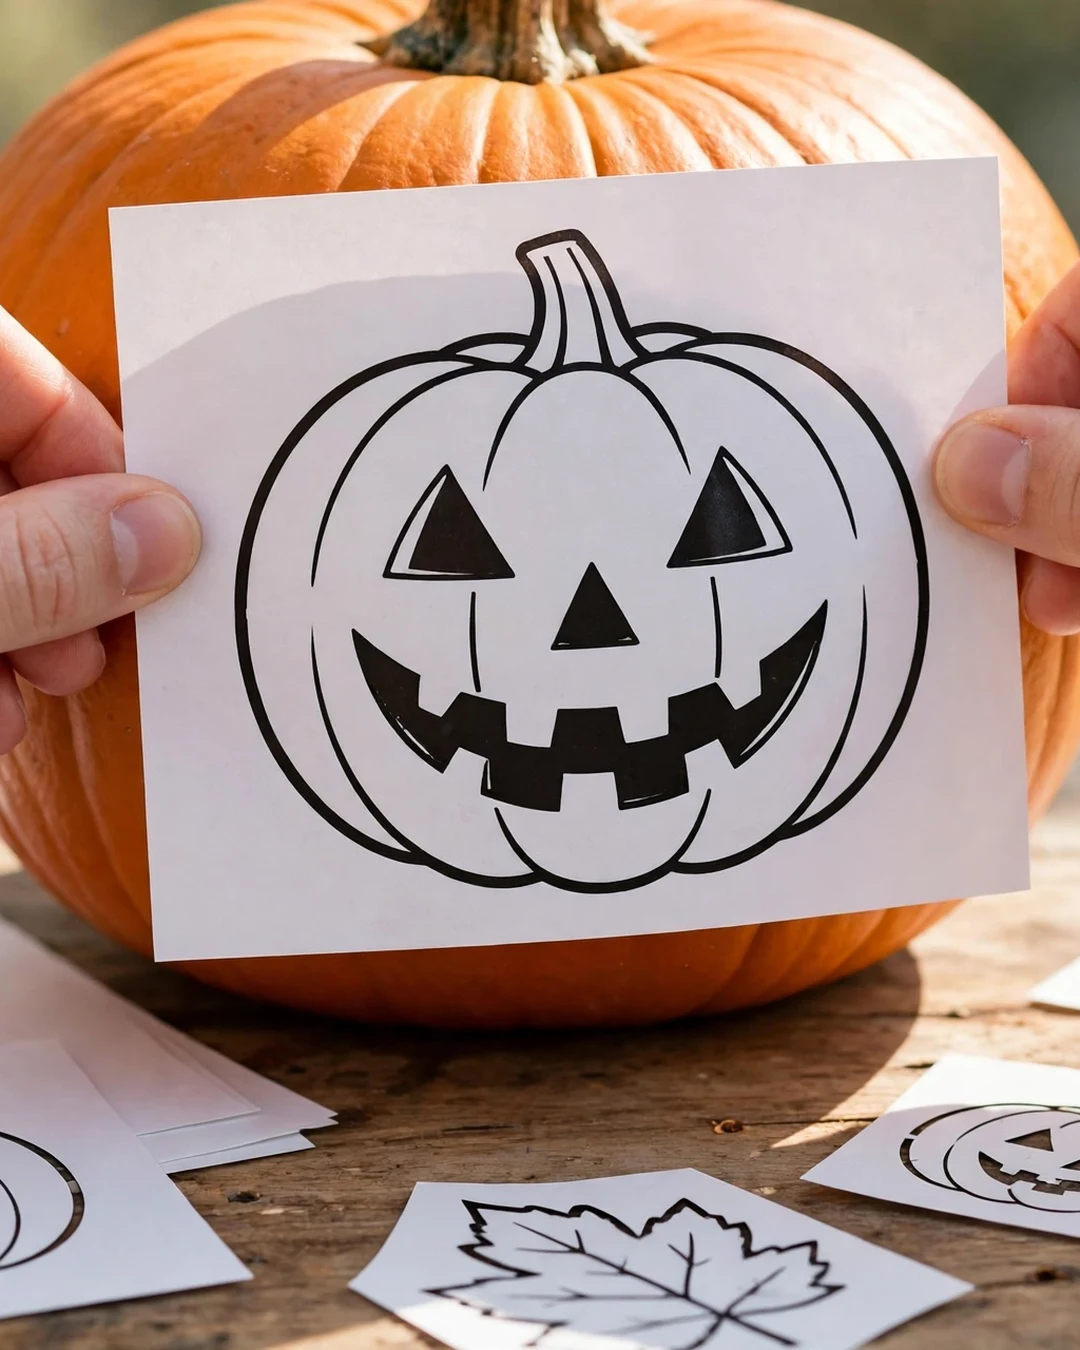
Match the stencil to your pumpkin's front. The design should fill the flat area without wrapping around the sides, where shapes stretch and tear.
Most stencil files print at a few sizes. Measure your pumpkin's front, then print the closest size. A design that fits flat is the single biggest factor in a clean result.
Step 2: Prep and Open the Pumpkin
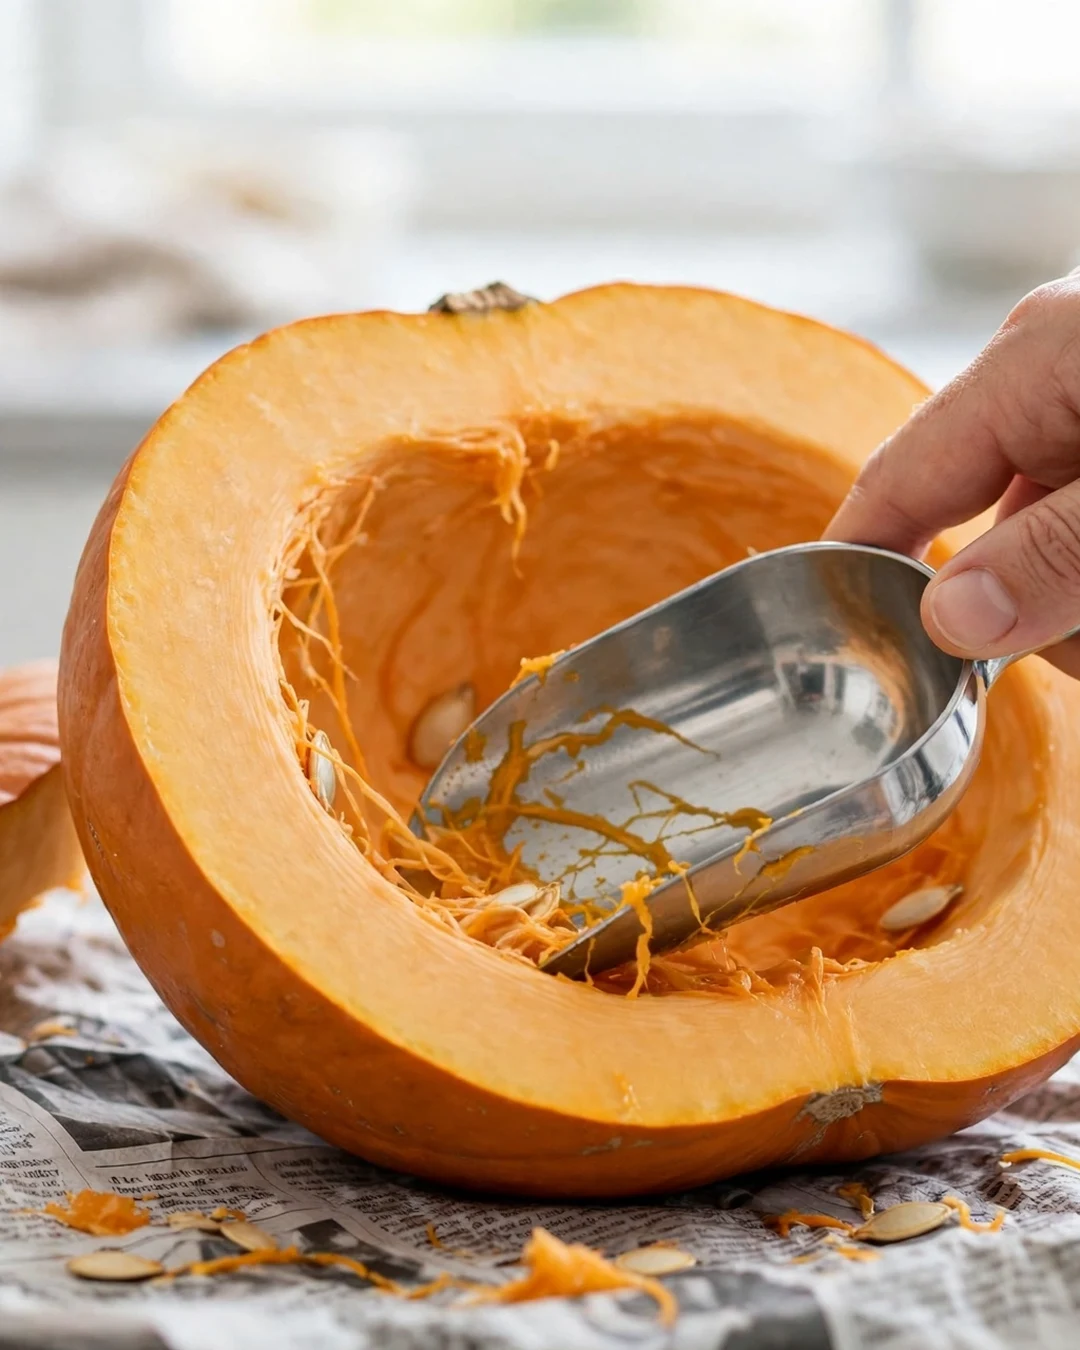
Cut the lid at an inward angle and clean the inside well. Scrape the front wall to about three-quarters of an inch for stencils with small details, since thinner walls cut more cleanly.
Wipe the outside dry. Tape holds far better on a dry, clean surface.
Step 3: Tape the Stencil Flat
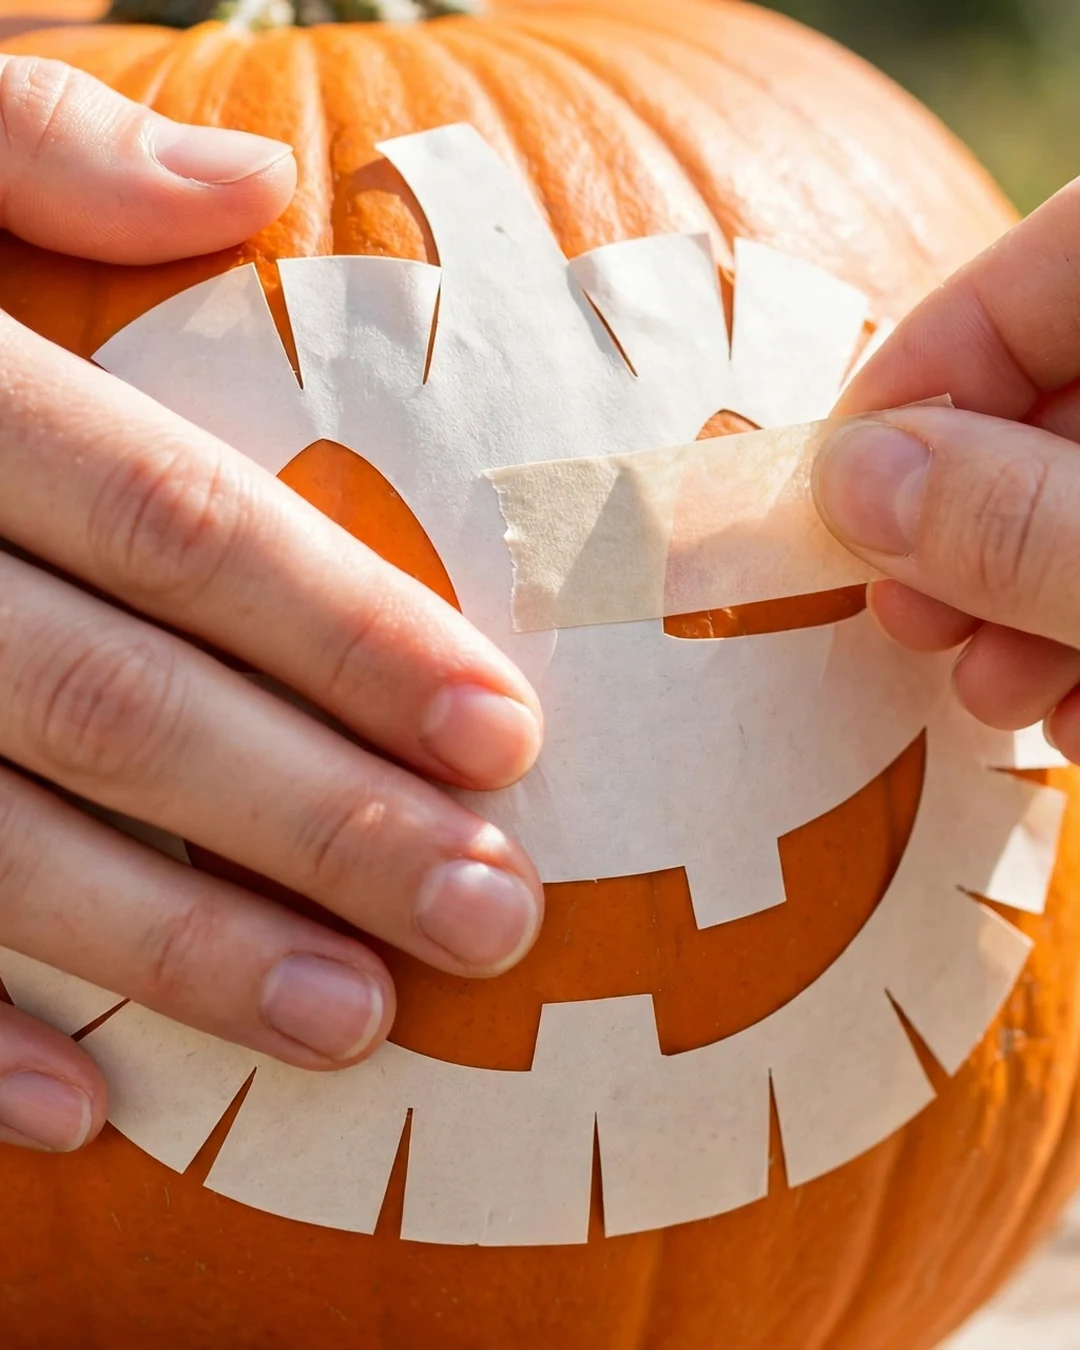
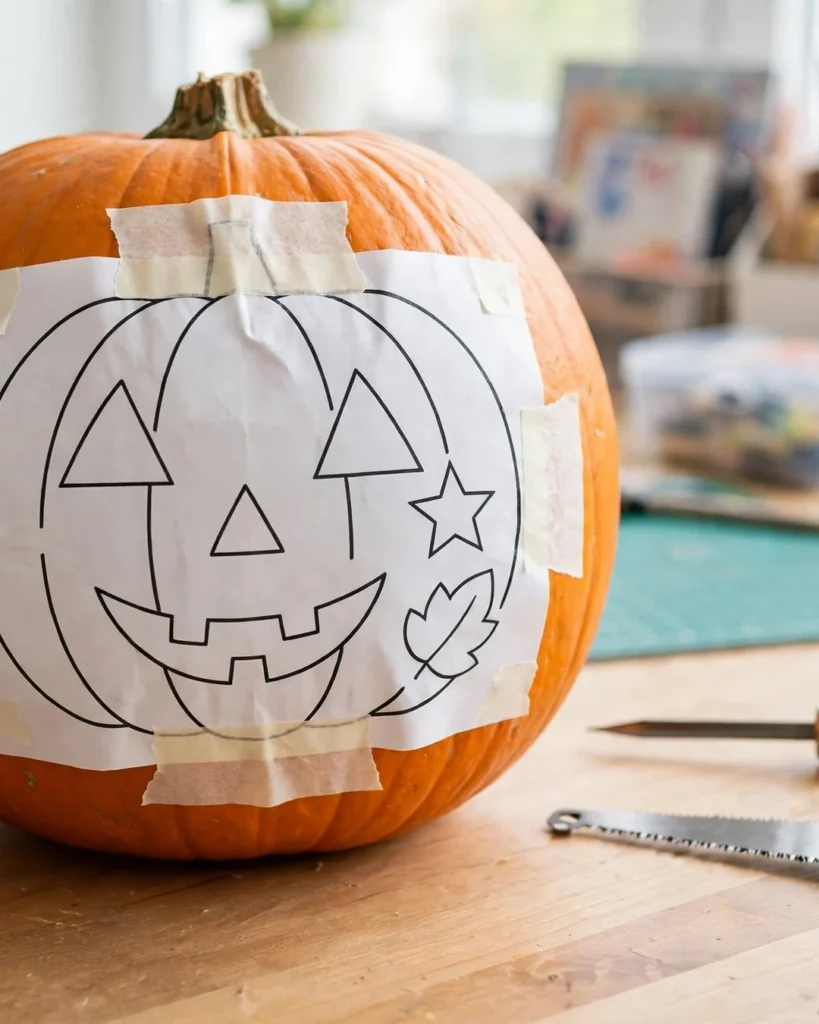
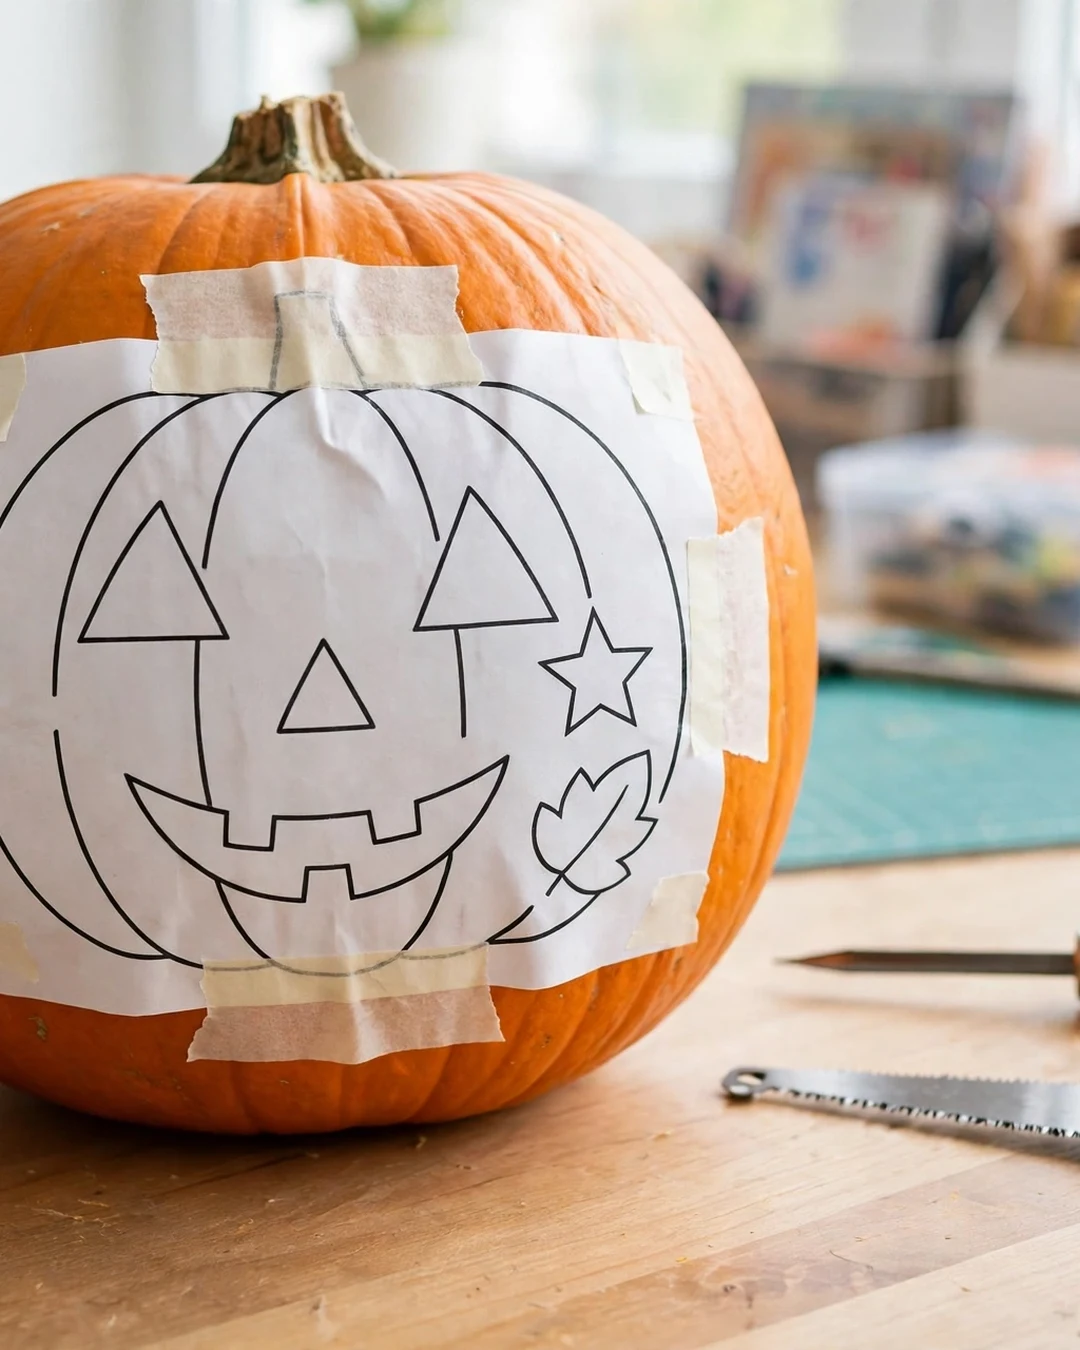
Tape the stencil at the top first, then smooth it downward. Cut small slits at the paper edges so it can follow the pumpkin's curve without wrinkling.
Wrinkles shift lines, and shifted lines ruin symmetry. Take your time here; two extra minutes of taping saves the whole design.
Step 4: Transfer the Design with Dots
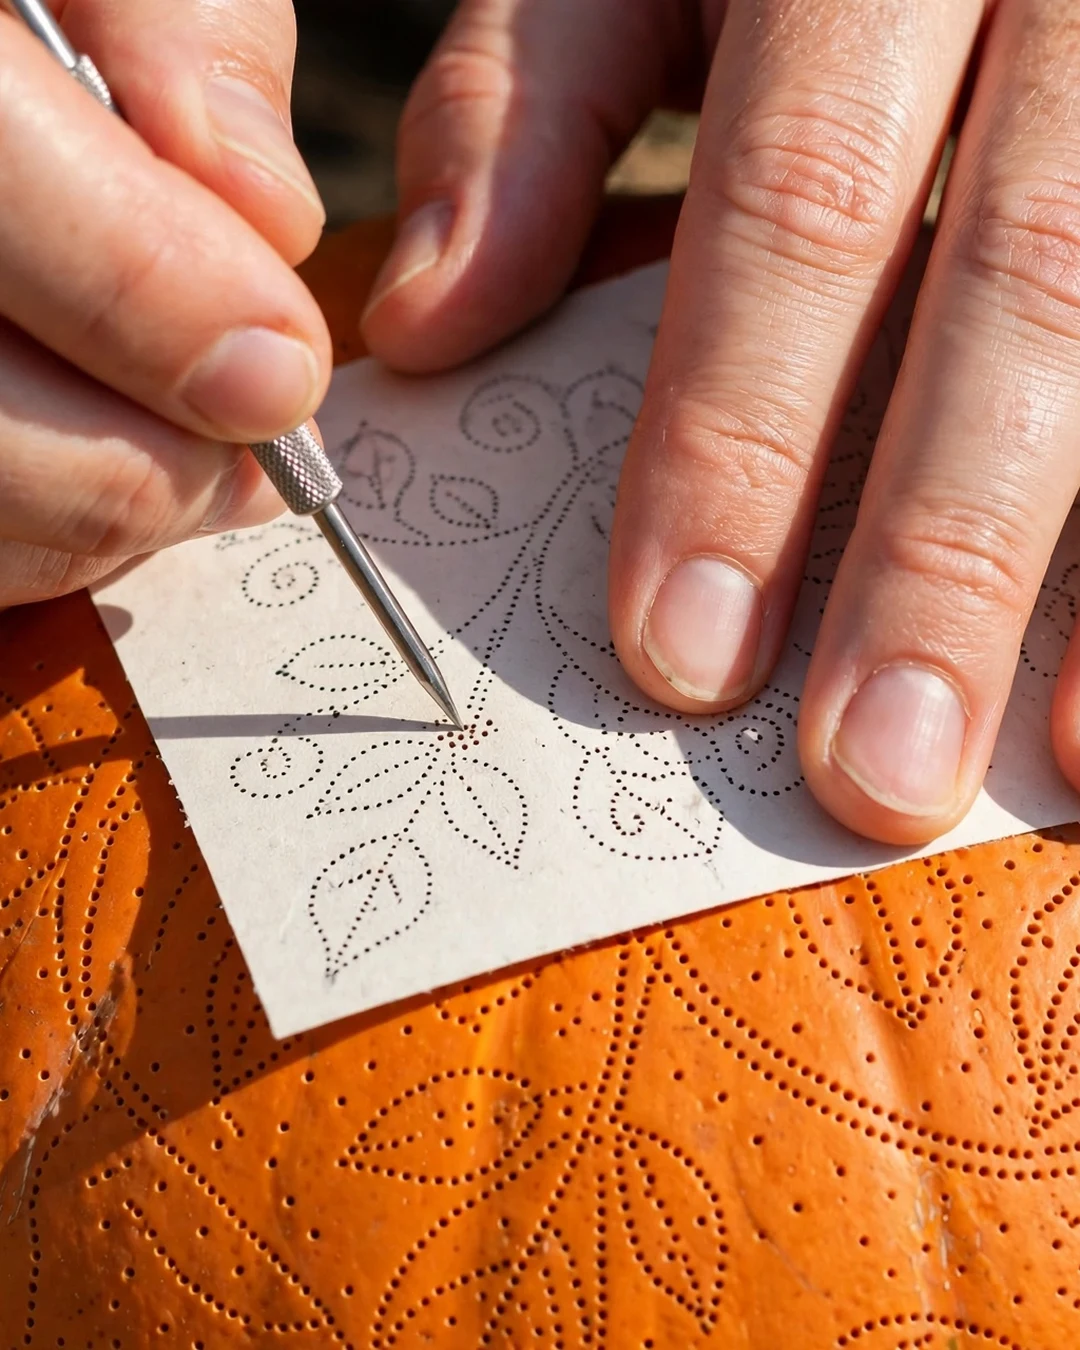
Poke holes through the paper along every line, spacing dots about half an inch apart, and closer on tight curves. Press firmly so each dot marks the skin.
Remove the paper and keep it beside you as a map. If a dotted section looks faint, re-pin the paper over that spot and poke again.
Step 5: Read the Shading Before You Cut
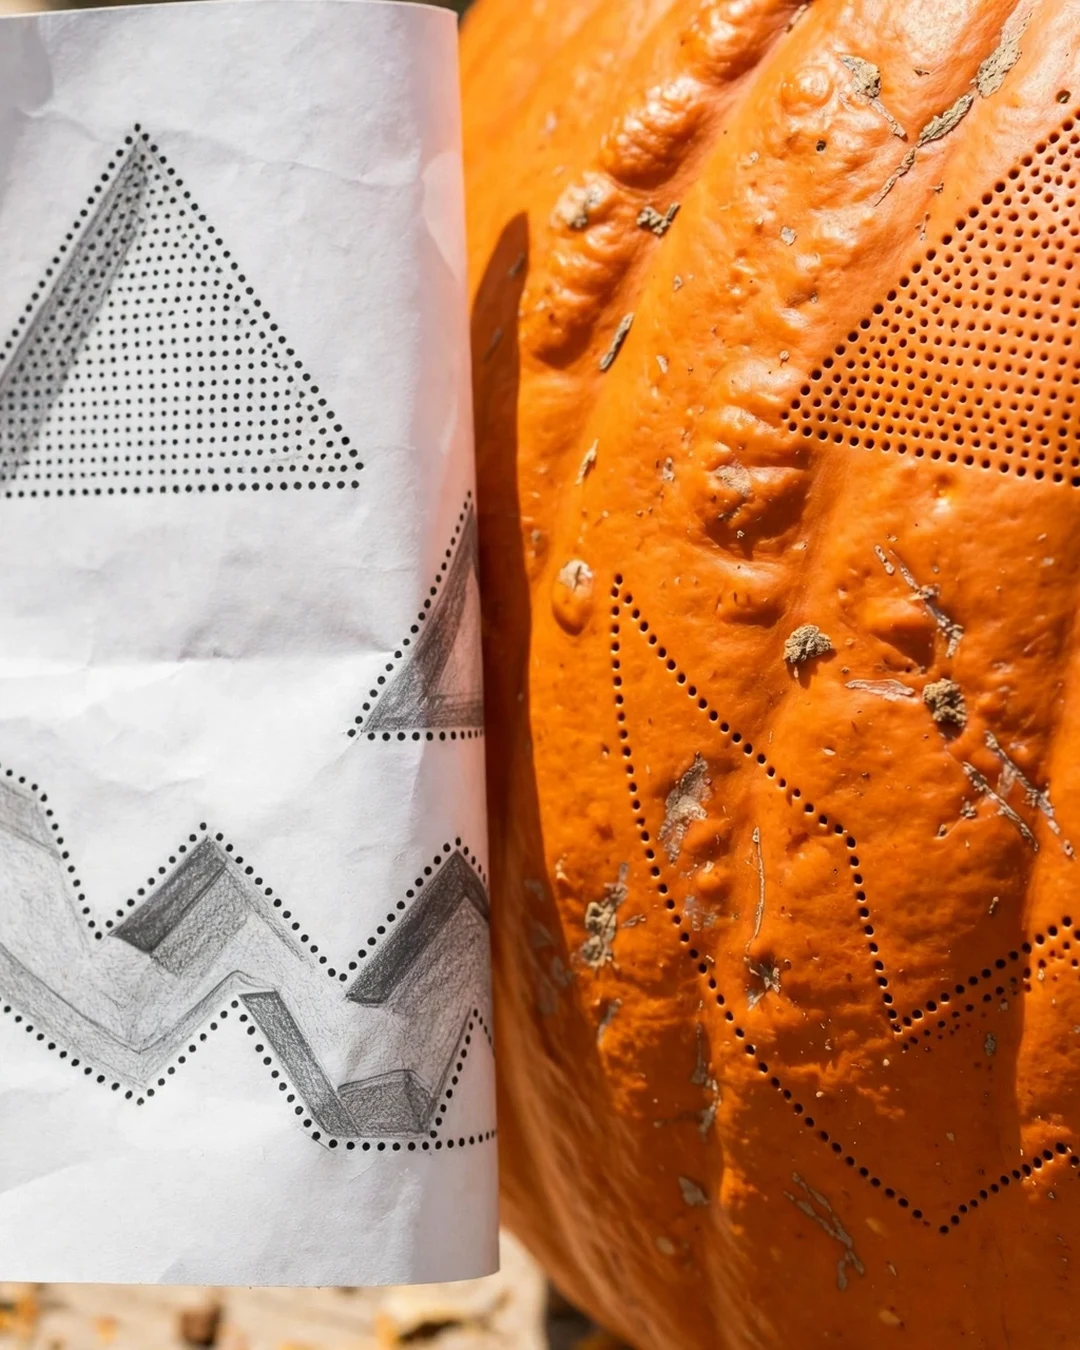
Most stencils use three levels. Black areas get cut out fully, gray areas get etched by shaving the skin, and white areas stay untouched.
Check your stencil map and mark the pumpkin lightly if it helps: a small dot pattern for etch zones, full lines for cut zones. Knowing the levels before you start prevents the classic mistake of cutting through a section that should only glow softly.
Step 6: Carve in the Right Order
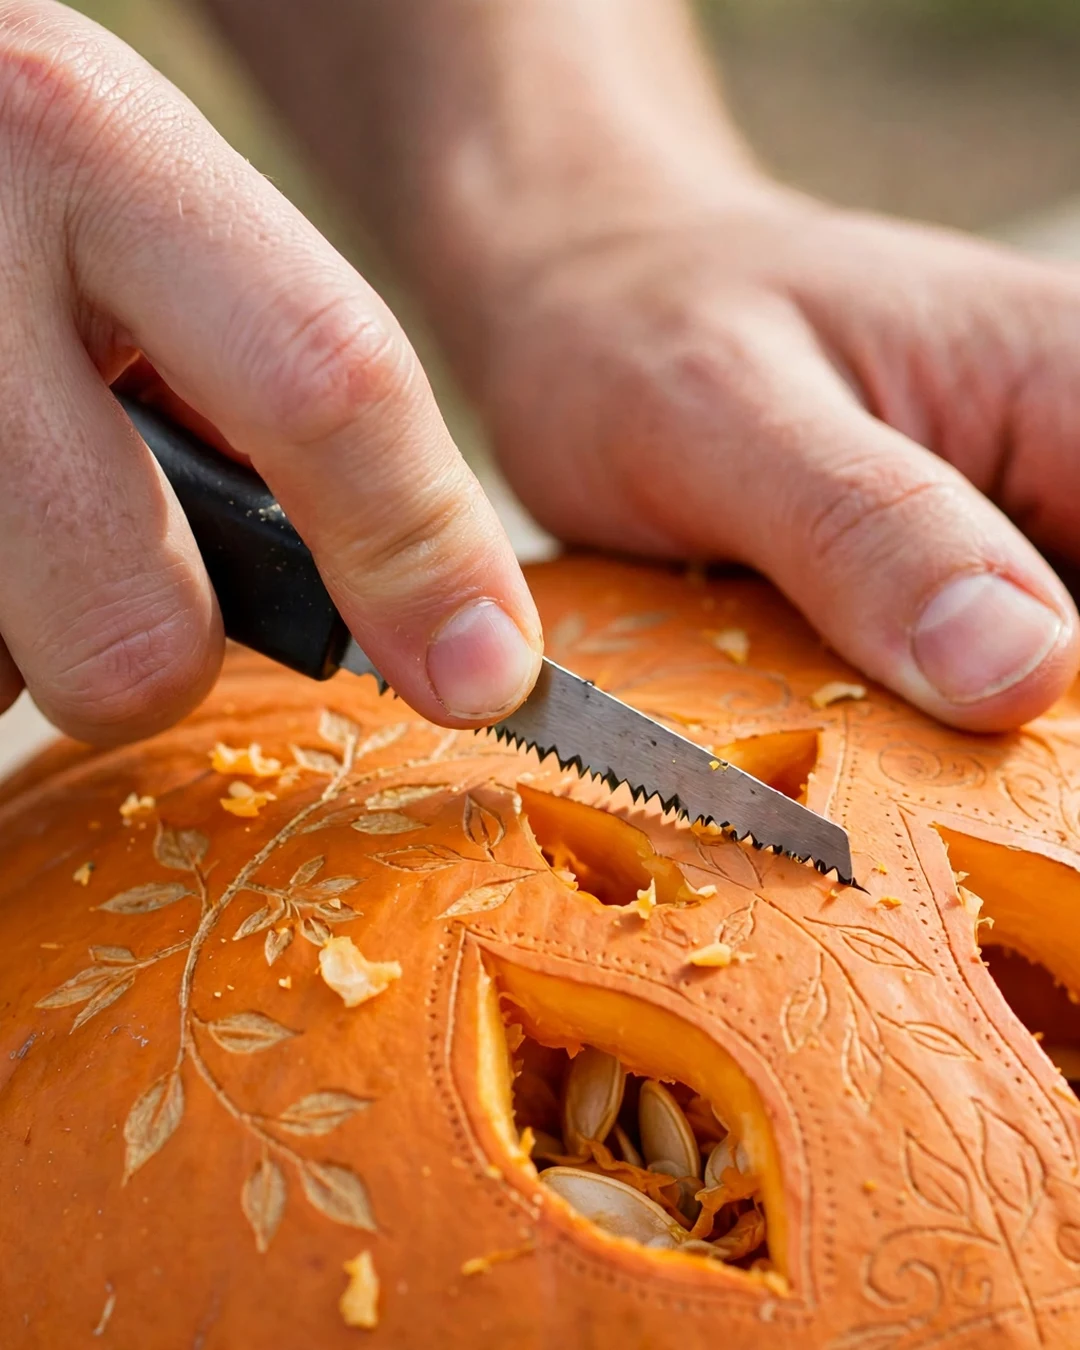
Etch the gray areas first with your scraping tool, while the wall is strong. Then cut the smallest black shapes, working from the center outward to the largest shapes last.
Use the fine saw for detail and the standard saw for big openings. Push pieces out from inside, and pin any break with a toothpick right away.
Step 7: Make Your Carved Pumpkin Last Longer
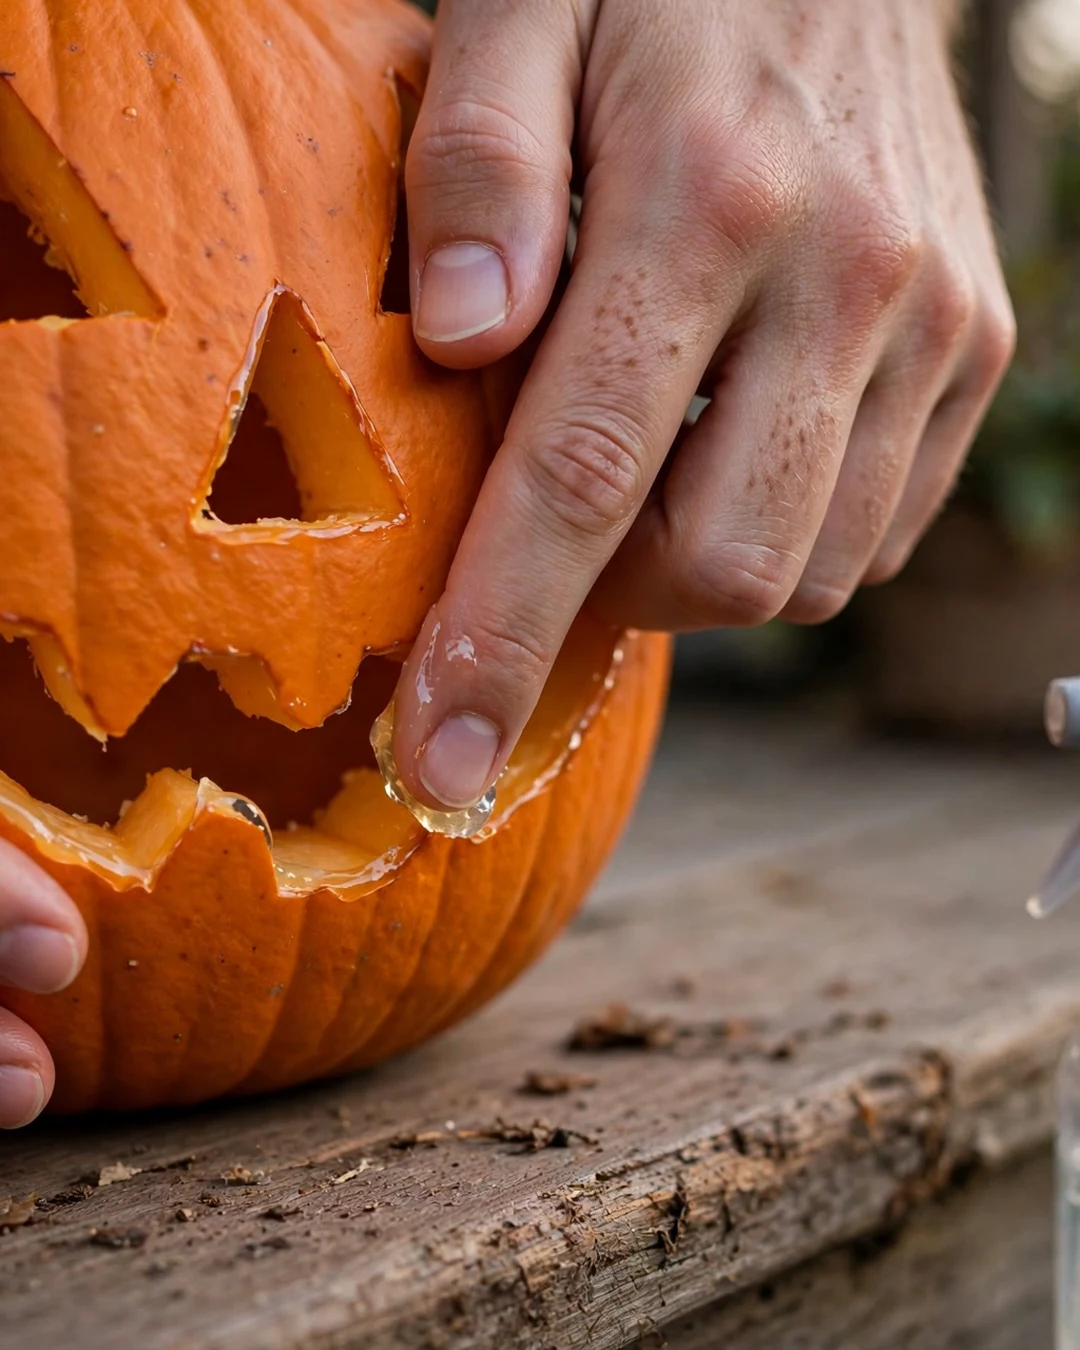
Rub petroleum jelly or vegetable oil along every cut edge to slow drying. A light daily spritz of water, or water with a small splash of bleach, slows mold and keeps the surface firm.
Store the pumpkin somewhere cool between displays, and use battery lights instead of candles, since candle heat cooks the inside and shortens its life. Handled this way, most carved pumpkins stay presentable for five to seven evenings. For more seasonal displays that last, see our fall front porch decor ideas.
Quick Troubleshooting
- Torn paper stencil: tape the tear from the back and re-pin that section.
- Broken bridge between shapes: leave it, light will hide most small breaks.
- Dots too faint: dust the surface lightly with flour so the holes show white.
The Final Look
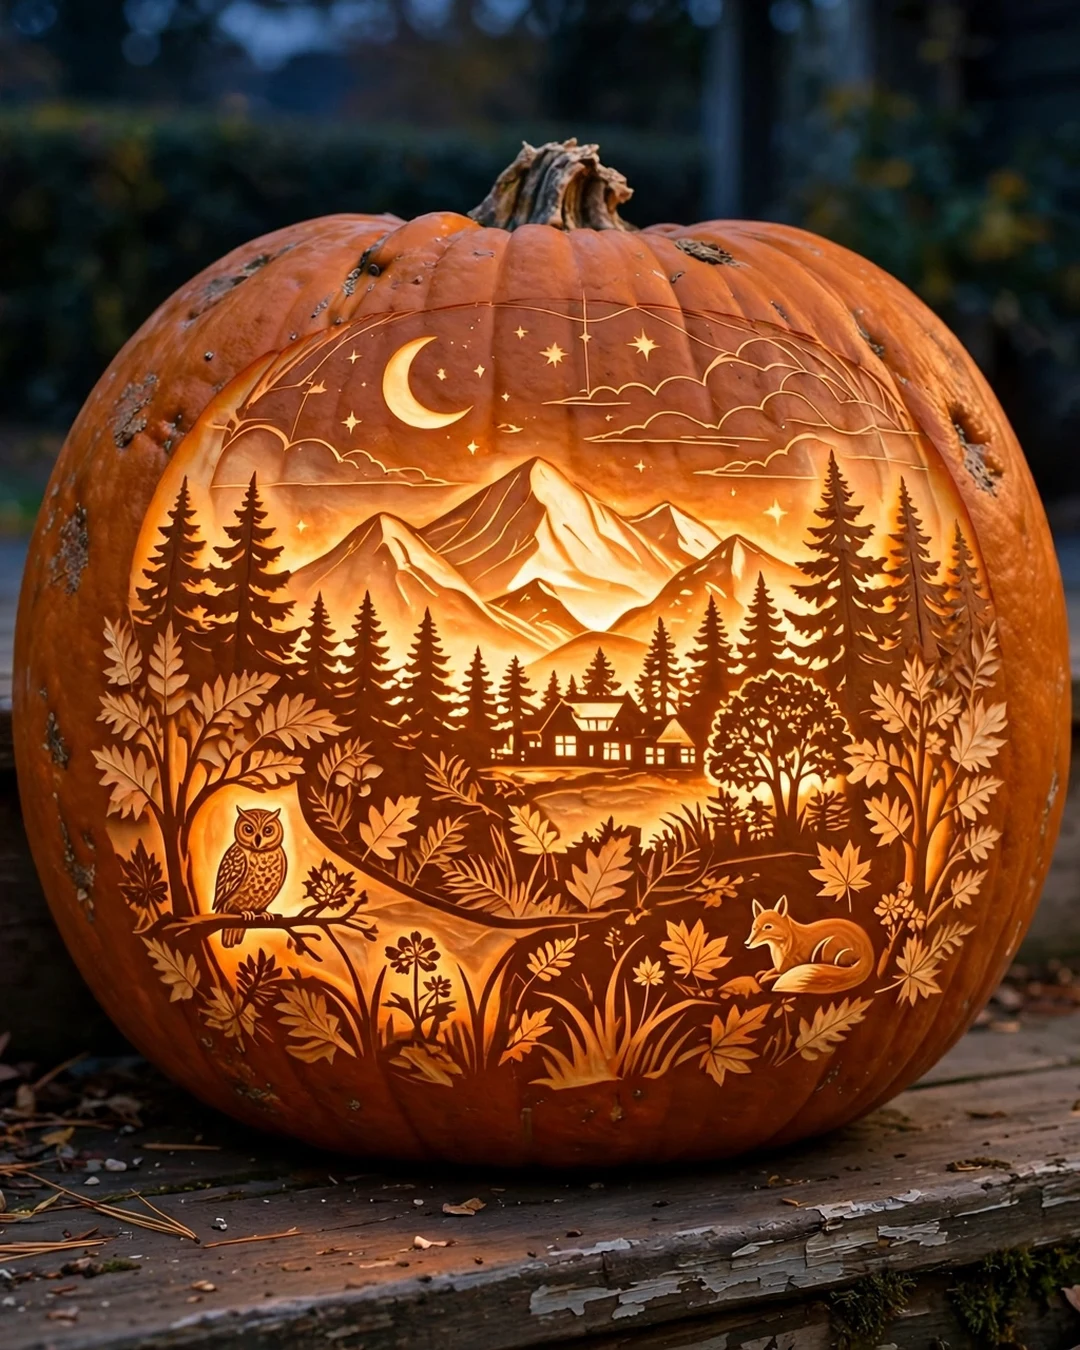
A well-carved stencil pumpkin glows in layers: bright cut shapes, soft etched shading, and dark untouched areas for contrast. From the street it reads like printed artwork, yet it came from a home printer and a basic kit.
Set it where guests can walk up close, since stencil work rewards a near look. With the care steps above, your carved pumpkins will keep their crisp lines through Halloween night and beyond.