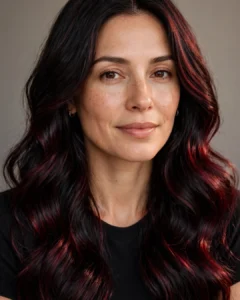

There’s something effortlessly stylish about a messy bun. It looks relaxed without feeling unfinished, works for busy mornings, and can take you from lounging at home to brunch, work, or an evening out. Best of all, you don’t need professional hairstyling skills to create one.
The trick is finding the sweet spot between too neat and actually messy. A great messy bun has soft volume, intentional loose pieces, and enough hold to stay in place without looking stiff. Once you learn a few simple techniques, you can create the look in just a few minutes.
Start With the Right Hair Texture
Believe it or not, freshly washed, super-silky hair isn’t always the easiest to use for a messy bun. Hair with a little texture tends to grip better and can help the bun stay in place.
If your hair is freshly washed, add a small amount of texturizing product or dry shampoo to create grip and volume. Focus mostly on the roots and mid-lengths rather than coating your entire head.
For naturally curly or wavy hair, you may already have plenty of texture. Instead of brushing everything completely smooth, gently detangle your hair with your fingers or a wide-tooth comb so you don’t remove the natural volume.
The goal is simple: manageable hair with enough texture to hold its shape.
Gather a Few Simple Hair Essentials
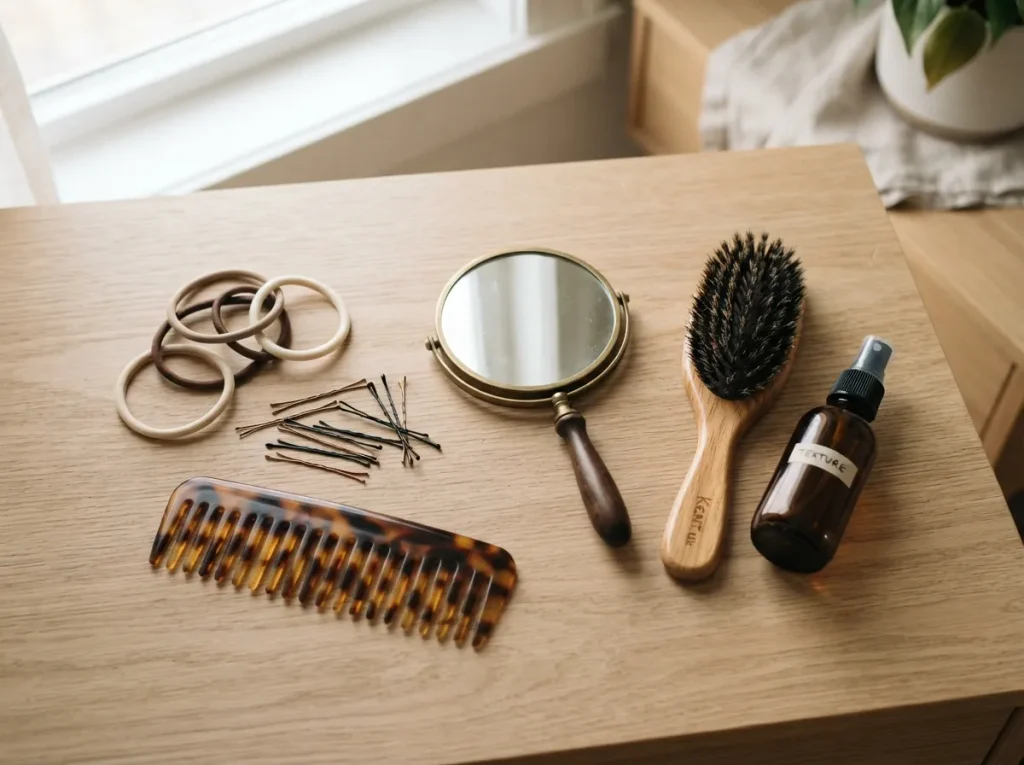
One reason the messy bun is such a beginner-friendly hairstyle is that you don’t need many tools.
Keep these basics nearby:
- A comfortable hair elastic
- A few bobby pins
- A brush or wide-tooth comb
- Texturizing spray or dry shampoo, if needed
- A lightweight hairspray for optional hold
You can also keep a second elastic handy if you have particularly thick or long hair.
Step 1: Create a Loose Ponytail
Begin by gathering your hair into a ponytail. The placement determines the overall personality of your messy bun.
For a classic everyday look, position the ponytail around the crown of your head. A higher placement feels playful and casual, while a low messy bun near the nape looks softer and more sophisticated.
Don’t worry about brushing every strand perfectly into place. Use your fingers to gather your hair if you want more natural texture.
Secure the ponytail with an elastic, but avoid pulling it extremely tight. You want enough support to hold the hairstyle while maintaining some volume around the crown.
Once secured, gently tug small sections around the top and sides of your head to loosen them slightly.
Step 2: Turn the Ponytail Into a Bun
Now comes the fun part.
There are two easy ways beginners can create the bun.
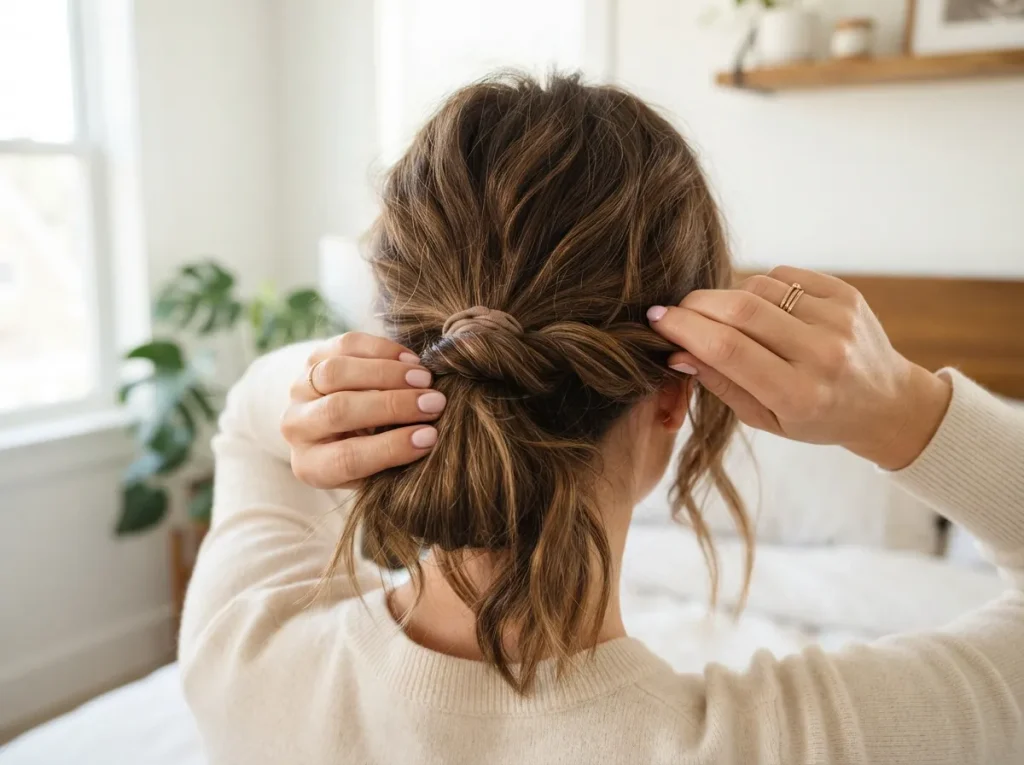
For the quickest method, start pulling your ponytail through the elastic again but stop halfway on the final loop. This creates a loose loop of hair. Gently spread the loop outward with your fingers until you like its shape.
Alternatively, loosely twist your ponytail around its base. Wrap the hair into a relaxed circle and secure it with another elastic or a few bobby pins.
Don’t twist too tightly. A perfect messy bun needs softness and dimension.
Step 3: Shape the Bun With Your Fingers
This is the step that transforms a basic bun into that effortless Pinterest-inspired look.
Use your fingertips to gently pull small sections of the bun outward. Work slowly rather than pulling large pieces at once.
If one side looks flatter than the other, carefully loosen it until the shape feels balanced. Secure any pieces that stick out too far with bobby pins.
Try inserting bobby pins toward the center of the bun so they’re less visible.
Remember, your bun doesn’t need to be perfectly symmetrical. Slight imperfections actually make the hairstyle look more relaxed and natural.
Step 4: Add Face-Framing Pieces
A few loose strands around your face can completely change the finished look.
Gently pull out one or two small sections near your temples, ears, or hairline. Start with less hair than you think you need—you can always loosen more later.
If your natural strands fall nicely, leave them alone. You can also softly curl the face-framing pieces if you want a more polished finish.
For a casual everyday bun, natural texture and a few tiny flyaways often look better than perfectly styled strands.
Step 5: Give the Crown More Volume
If your messy bun looks too flat from the front, don’t start over.
Place your fingertips underneath small sections near the crown and gently pull upward. This creates subtle volume between your scalp and the ponytail.
Be careful not to pull too much. You’re aiming for softness rather than a dramatic bump.
Make Your Messy Bun Last Longer
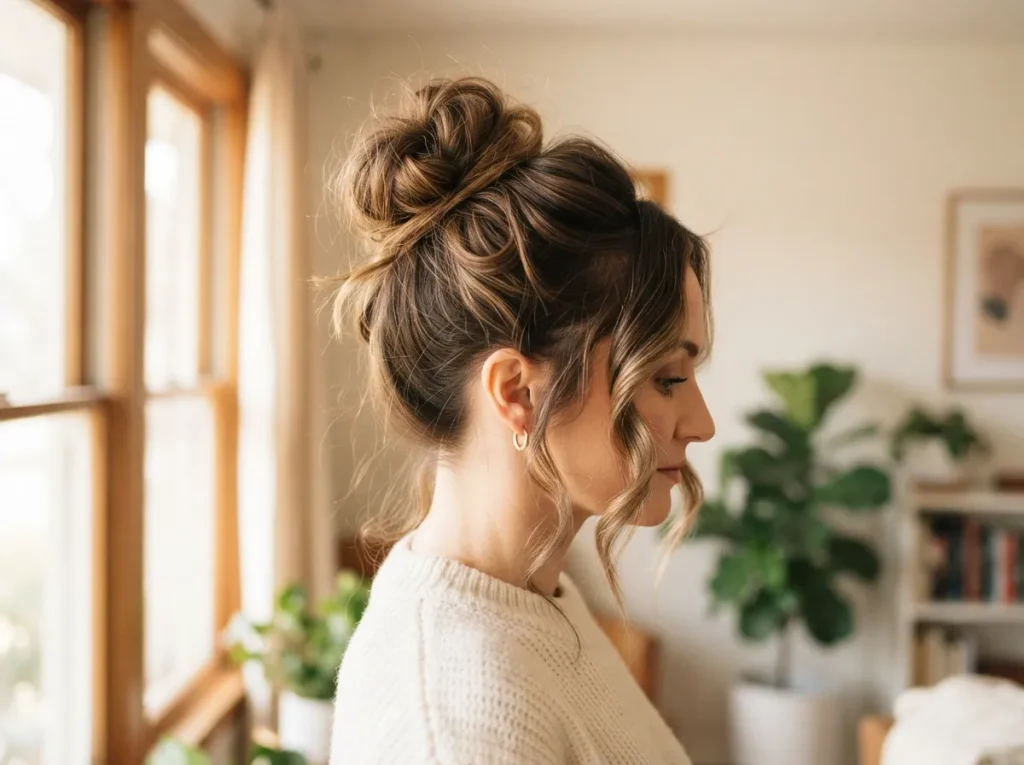
Once you’re happy with the shape, check the bun from the front, sides, and back.
Add a few extra bobby pins wherever the hairstyle feels loose. If you want additional hold, lightly mist your hair with hairspray from a comfortable distance rather than soaking the bun.
For better staying power:
- Cross two bobby pins over stubborn sections.
- Avoid making the original ponytail too loose.
- Add texture before styling very smooth hair.
- Carry two spare bobby pins for quick adjustments.
- Avoid repeatedly touching the finished bun.
If your hair is layered, don’t worry about every short piece staying tucked away. A few loose strands can add to the style.
Try Different Messy Bun Styles
Once you’ve mastered the basic technique, experiment with placement and texture.
Try a high messy bun with loose front pieces for an easy weekend look. Create a low bun for something more understated, or leave more natural texture visible for a romantic, undone finish.
You can even add a scrunchie, simple ribbon, or decorative clip when you want to dress it up.

Your Perfect Messy Bun Gets Easier With Practice
The perfect messy bun isn’t about making every strand behave. It’s about creating a hairstyle that feels secure, balanced, and intentionally relaxed.
Start with texture, create a loose ponytail, shape the bun gradually, and finish with a few face-framing pieces. After a little practice, the entire routine can become one of your quickest go-to hairstyles.
Try it the next time you’re rushing out the door—and save this messy bun tutorial for later whenever you need an easy hairstyle in minutes!