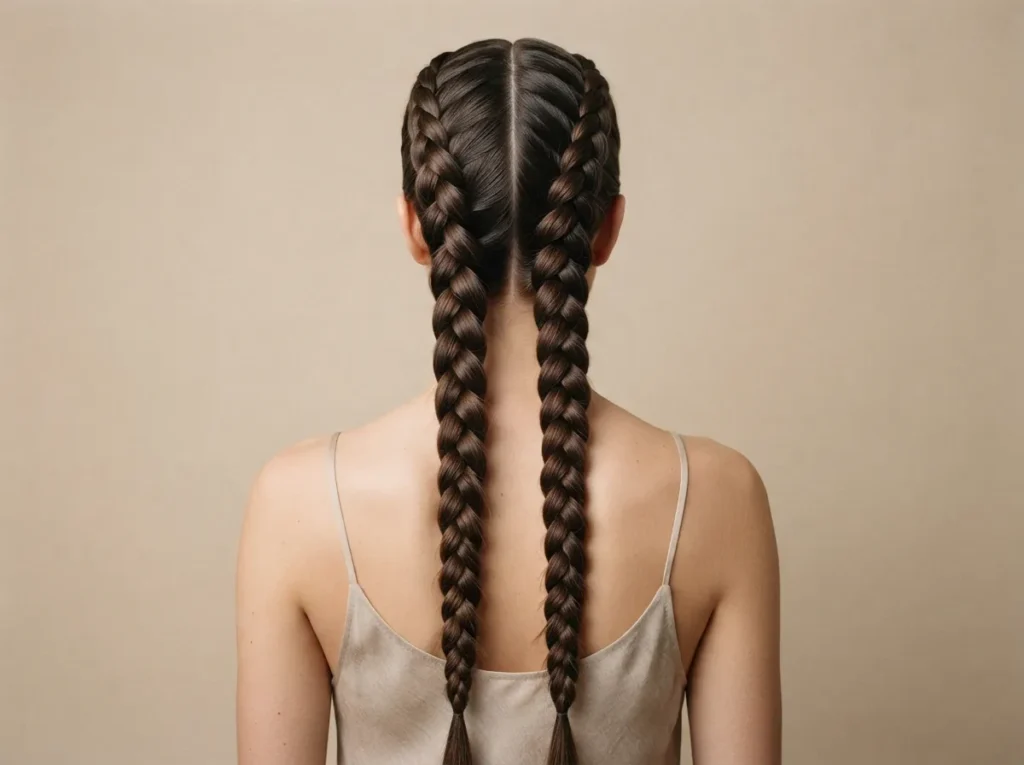
Double Dutch braids are a stylish choice when you want hair that looks polished while staying secure throughout the day. The two raised braids create clear definition along the scalp, and the style can work with straight, wavy, curly, and textured hair.
There are many ways to change the basic shape. You can wear tight sporty braids, loosen the sections for a fuller finish, add braided buns, create pigtails, or combine the braids with loose curls. Small changes in parting, braid thickness, and placement can completely change the final appearance.
Below, you will find 22 double Dutch braid ideas for casual days, workouts, school, parties, festivals, and dressier occasions. Each style includes practical tips for recreating the look, controlling flyaways, adapting it to different hair lengths, and keeping the braids neat without making the hairstyle overly complicated.
1. Classic Tight Double Dutch Braids
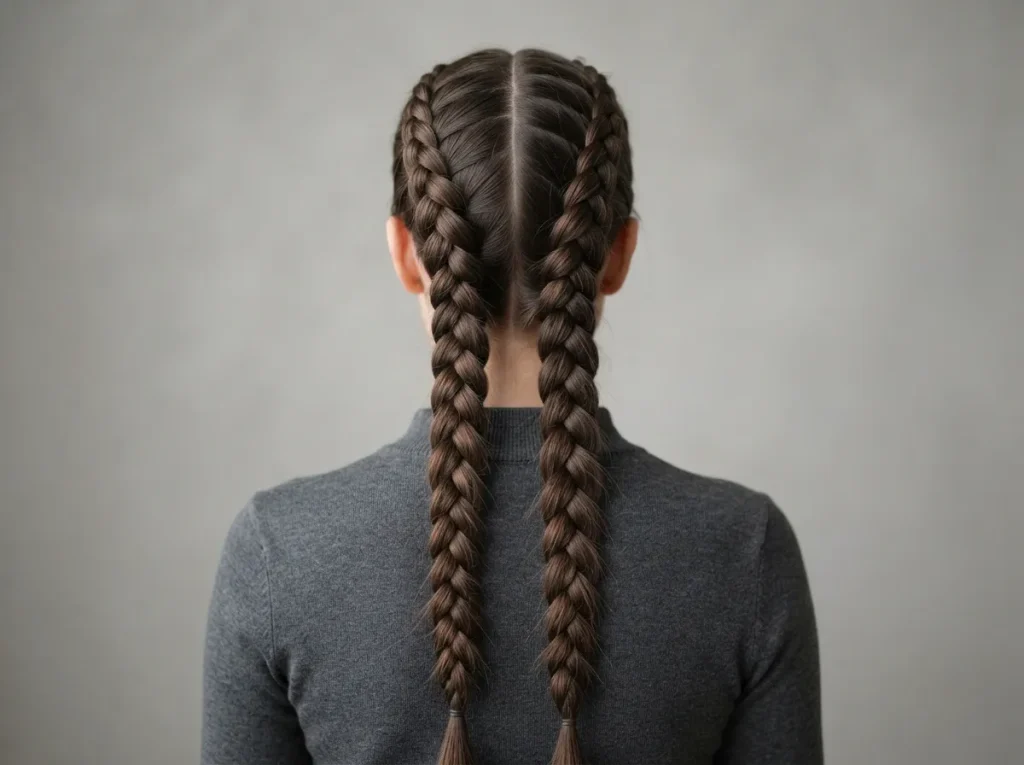
Classic double Dutch braids are a great starting point if you like a clean and structured hairstyle. The raised braid pattern stays close to the scalp and works especially well for active days, school, errands, or workouts.
Create a straight center part from the forehead to the nape. Divide one side into three small sections near the hairline, then cross each outer section under the middle strand while adding hair as you move backward.
Try to keep the amount of hair added to each section fairly even. This helps both braids look similar in thickness and placement.
A small amount of lightweight styling cream can help control short flyaways before braiding. Avoid applying too much product because heavy formulas may make the roots look flat.
Secure the ends with small elastics. If you want a softer finish, gently loosen only the braided tails while leaving the scalp sections tight.
2. Loose Chunky Double Dutch Braids
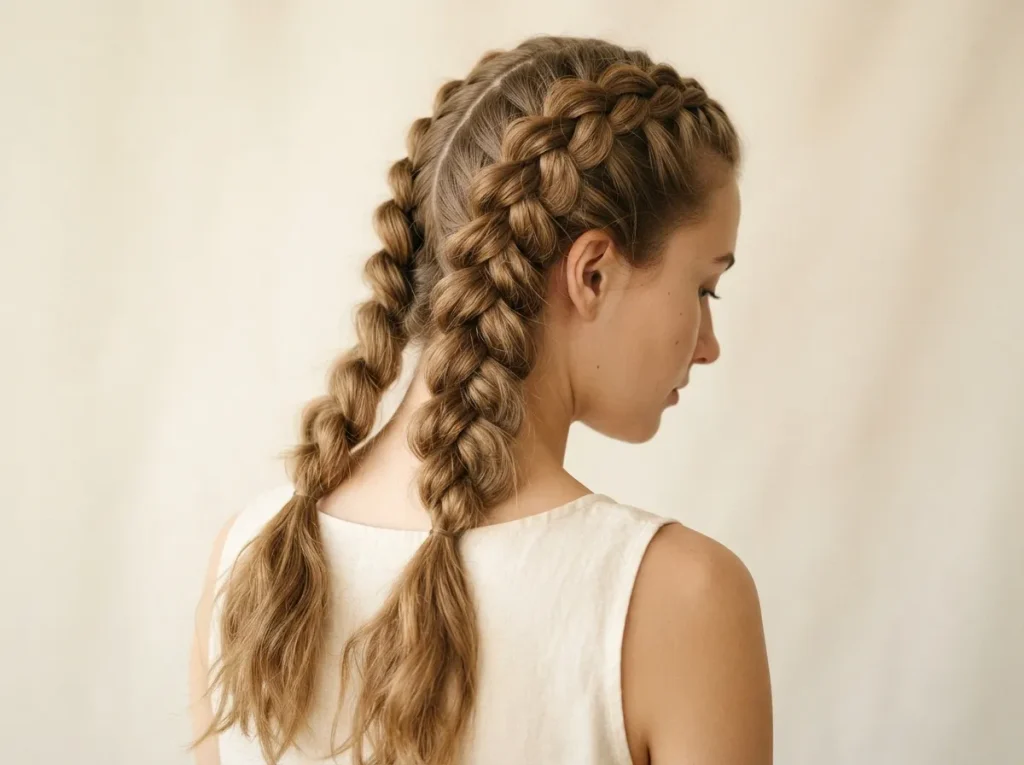
Looser braids create a softer and fuller version of the traditional style. This works particularly well if you want double Dutch braids that feel relaxed rather than sporty or tightly structured.
Start by braiding normally from the front hairline toward the nape. Once each braid is secure, gently pull outward on the outer edges of each woven section.
Work slowly from the bottom upward. Pull only a few millimeters at a time so the braid expands without falling apart.
This technique is especially useful for fine or medium-density hair because it can make each braid appear wider. You can also add a small amount of dry texture spray before braiding if your hair is very slippery.
Keep the center part clean so the fuller braid shape still feels intentional. Finish with flexible-hold hairspray if your hair tends to loosen quickly, but keep the finish soft enough that the braid texture remains visible.
3. High Double Dutch Braid Pigtails
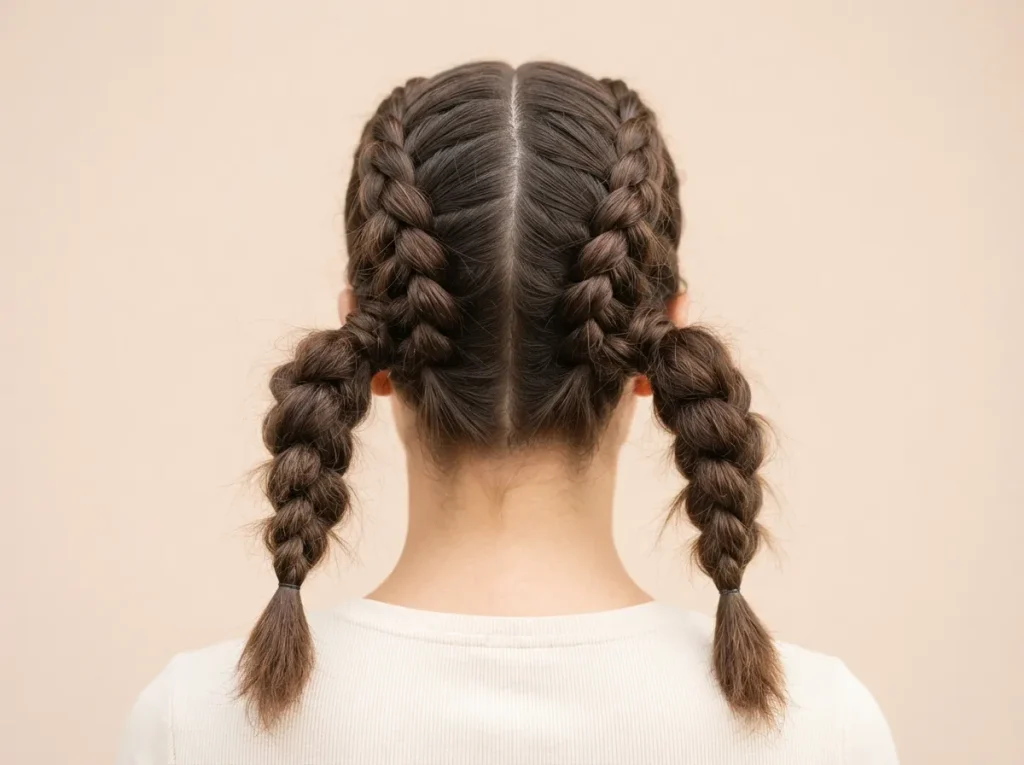
High braided pigtails give the hairstyle a playful shape while keeping the roots neat. Instead of continuing the braids low toward the shoulders, direct each braid slightly upward as you work toward the back of the head.
Part the hair straight down the middle, then braid each side from the front hairline toward a point behind the ear. Once all loose hair has been added, continue braiding the remaining length.
Keeping the braid direction slightly higher makes the finished pigtails sit closer to the upper back of the head. This can create more movement than low braids.
Use small clear or hair-colored elastics so the ends stay visually simple. For thicker-looking pigtails, gently widen the braid loops after securing them.
This style suits medium to long hair best because extra length makes the braided tails easier to see. A light smoothing cream at the roots can keep the sections clean throughout the day.
4. Low Double Dutch Braids
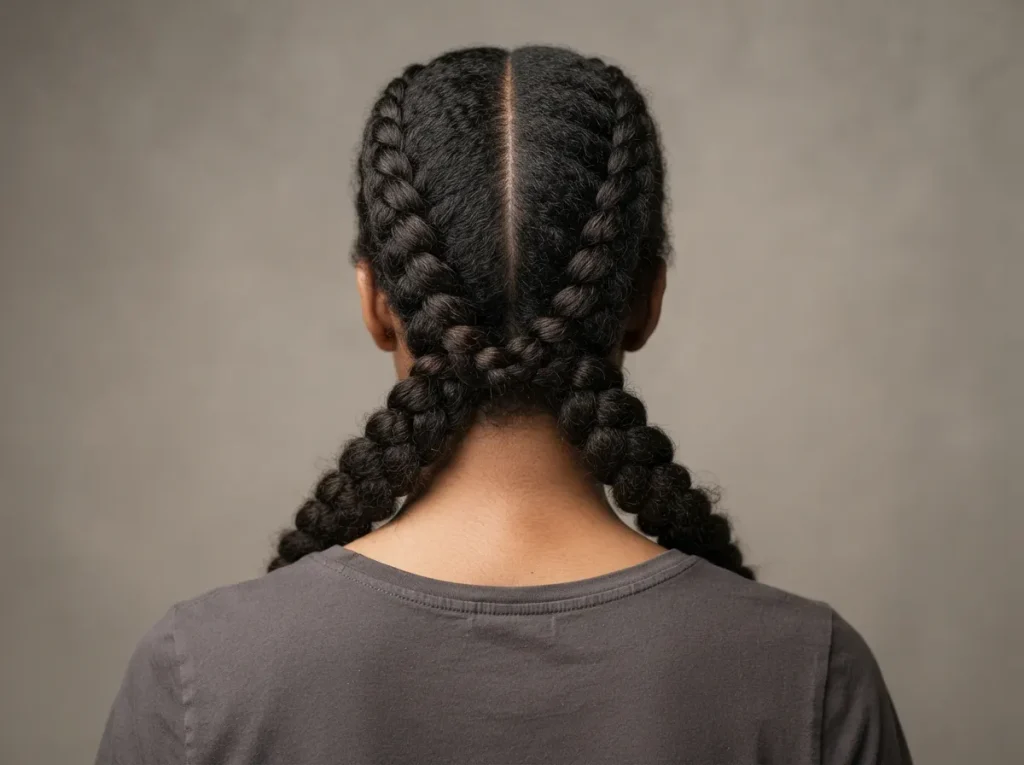
Low double Dutch braids have a softer shape because the braids stay close to the sides of the head before meeting the nape. They are comfortable for everyday wear and fit easily under many casual hats if you plan ahead.
Start with a center part and keep your hands close to the scalp while braiding downward. Instead of directing the sections outward, guide the braid toward the lower back of the head.
Once you reach the nape, continue with a standard three-strand braid. Keeping the tails loose can make the hairstyle feel less severe.
This style works nicely on medium and long hair. If your layers are shorter, apply a small amount of styling cream around the sides before you begin.
For an understated finish, secure each end with a thin elastic close to your natural hair color. You can leave the braids neat or gently widen the lower sections for a softer appearance.
5. Double Dutch Braids With Loose Waves
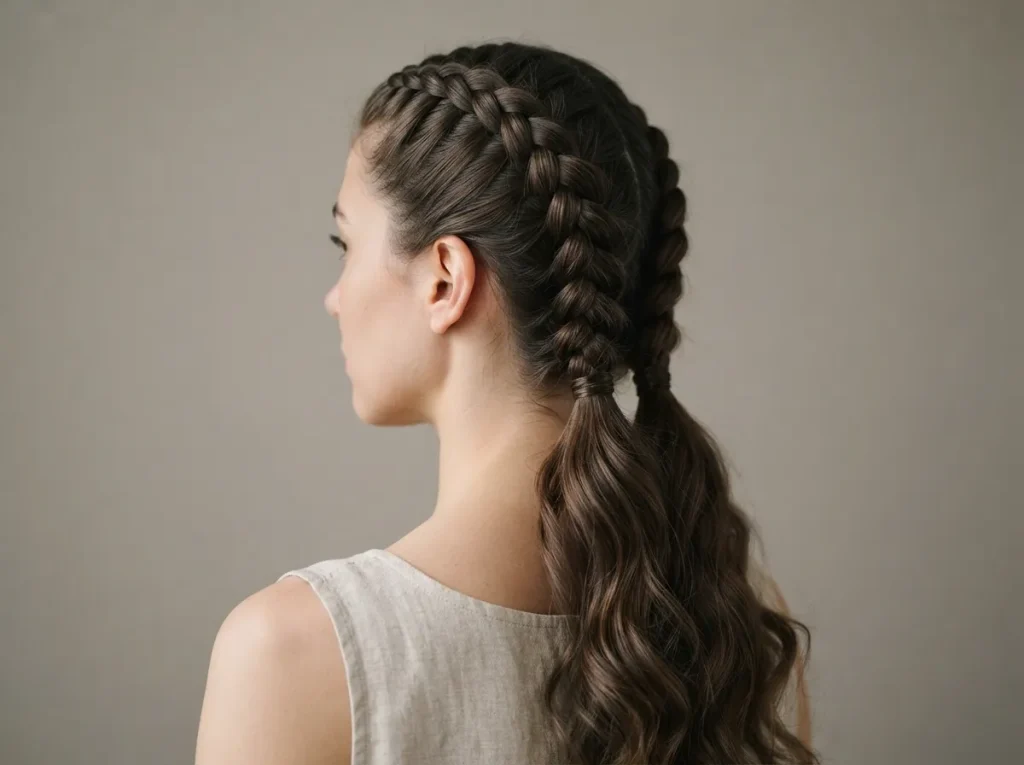
Combining braided roots with loose waves gives you structure around the face while leaving movement through the lengths. The result works well for parties, casual events, and days when you do not want every strand fully braided.
Create two Dutch braids from the hairline and stop around the nape or slightly higher. Secure each braid with a small elastic, then leave the remaining hair loose.
If your hair is naturally wavy, gently shape the lengths with your fingers. Straight hair can be curled beforehand with a large-barrel tool, then allowed to cool before braiding the upper sections.
Keep the waves soft rather than tightly curled. Loose bends create better contrast against the defined braid pattern above.
A little lightweight serum can smooth the ends without weighing them down. Avoid applying oil near the roots because it may reduce the grip required for the braided sections.
6. Double Dutch Braids Into Low Buns

Turning the ends into low buns creates a tidy hairstyle that keeps all the hair off the neck. It can work for warm days, workouts, dinners, and more polished occasions depending on how sleek you make it.
Create two Dutch braids and continue until you reach the nape. Secure each section temporarily, then braid the remaining lengths into simple three-strand braids.
Wrap each tail around its base to create a small bun. Use hidden bobby pins to hold the shape firmly against the head.
For a softer look, gently widen the scalp braids before forming the buns. If you prefer a cleaner finish, keep every section tight and smooth from the start.
Medium to long hair works best because there is enough length to form visible buns. Shorter hair can still create smaller coils at the nape if the braided tails have enough length to wrap securely.
7. Double Dutch Braids Into High Buns
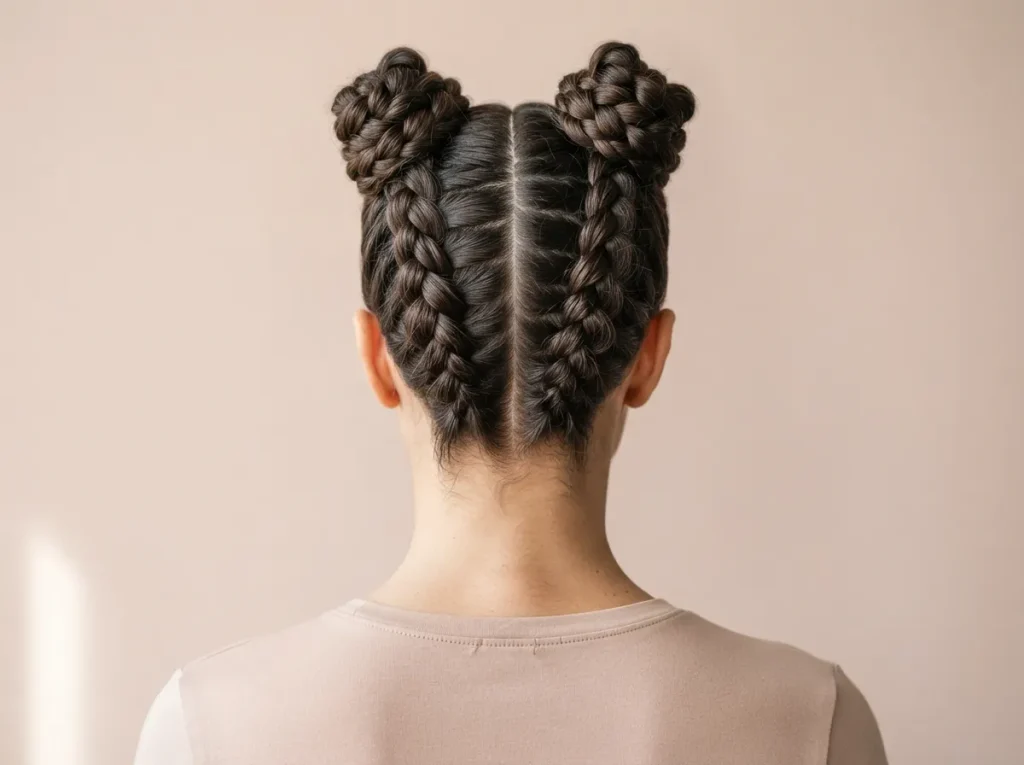
High braided buns create a bolder silhouette than low braided buns. The style keeps the hair secured while adding height at the back of the head.
Begin with two Dutch braids at the forehead and direct them upward toward the crown. Once you reach the placement where you want each bun, stop adding hair and secure the sections.
Braid the remaining lengths, then wrap each braid into a compact coil. Pin the ends underneath so they do not show.
The key is keeping both bun placements fairly even. Check the position from the front and back before pinning everything firmly.
For more volume, gently loosen the braided tails before wrapping them into buns. Fine hair may also benefit from a small amount of texture spray before styling.
This look pairs well with simple clothing because the hairstyle already has a strong shape. Keep accessories minimal so the braid pattern stays easy to see.
8. Double Dutch Braids on Curly Hair
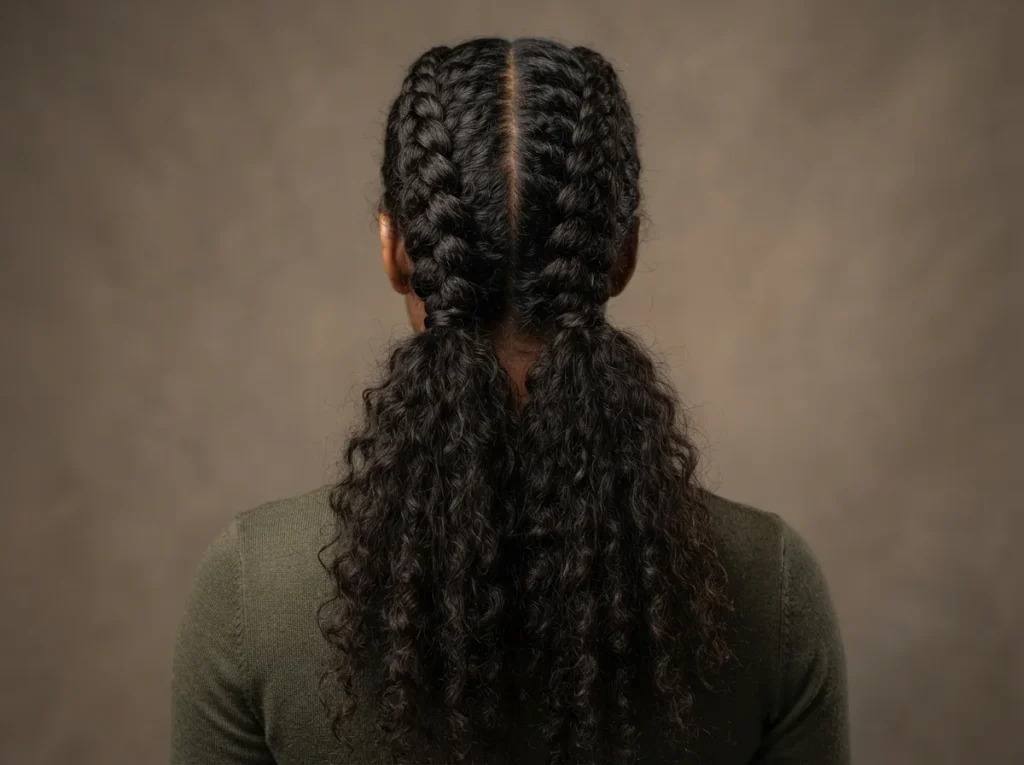
Curly hair can give double Dutch braids extra texture and natural volume. The braid pattern may look fuller because each added section already has body and movement.
Work on gently detangled hair so your fingers can separate sections without pulling. You do not have to straighten the curls before braiding.
Apply a small amount of curl cream or lightweight styling gel along the hairline and part. This can help keep shorter curls controlled while preserving the natural texture through the braid.
Avoid pulling every section too tightly. Comfortable tension can create a cleaner style without placing unnecessary stress on the scalp.
Once the braids are finished, leave the ends braided or allow a little curl pattern to remain visible near the tips. Curly texture at the ends can make the hairstyle feel softer.
At night, cover the braids with a satin scarf or bonnet if you plan to wear them again the next day.
9. Sleek Double Dutch Braids on Straight Hair
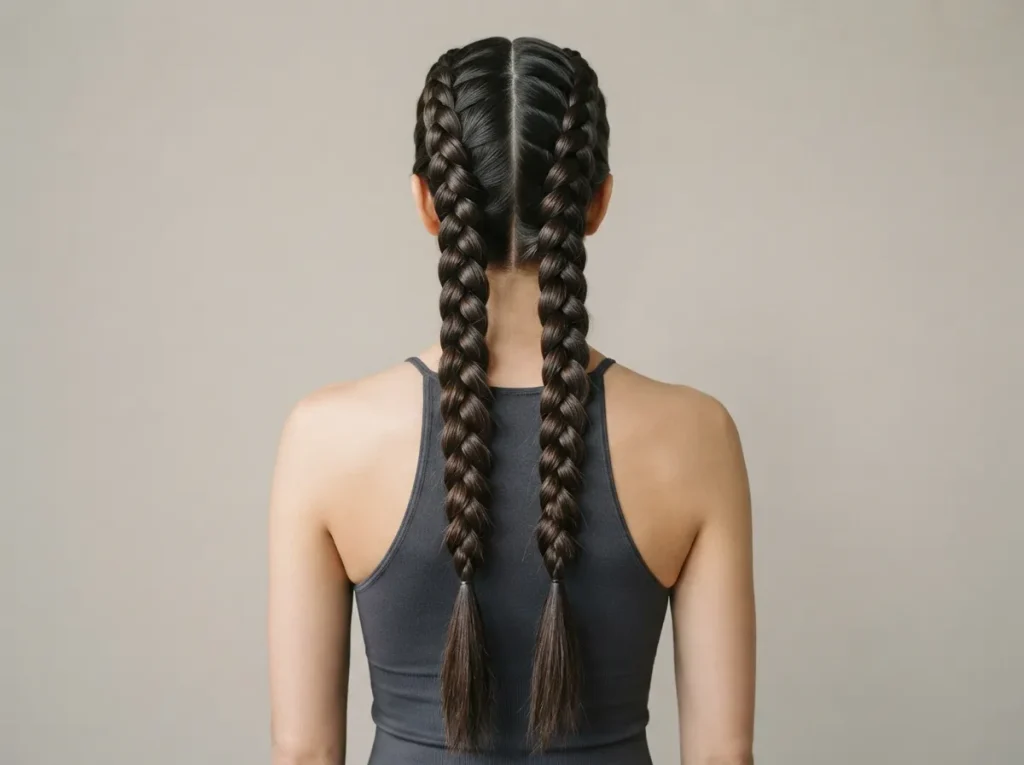
Straight hair creates a very defined braid pattern because the individual sections lie smoothly against one another. This makes double Dutch braids look especially clean when the parting and tension are consistent.
Begin with thoroughly brushed hair and a straight center part. If your hair is silky, add a small amount of texturizing spray so your fingers have more grip.
Keep each added section similar in size as you braid backward. Smaller sections usually create a tighter, more detailed pattern, while larger sections make the braids appear wider.
Smooth flyaways with a tiny amount of lightweight gel applied with your fingertips. Avoid coating the entire length because too much product can reduce natural movement.
Long straight hair creates striking braided tails, but medium lengths can work just as well. Secure the ends firmly and gently tug the outer braid edges only if you want slightly more width.
10. Double Dutch Braids With Face-Framing Pieces
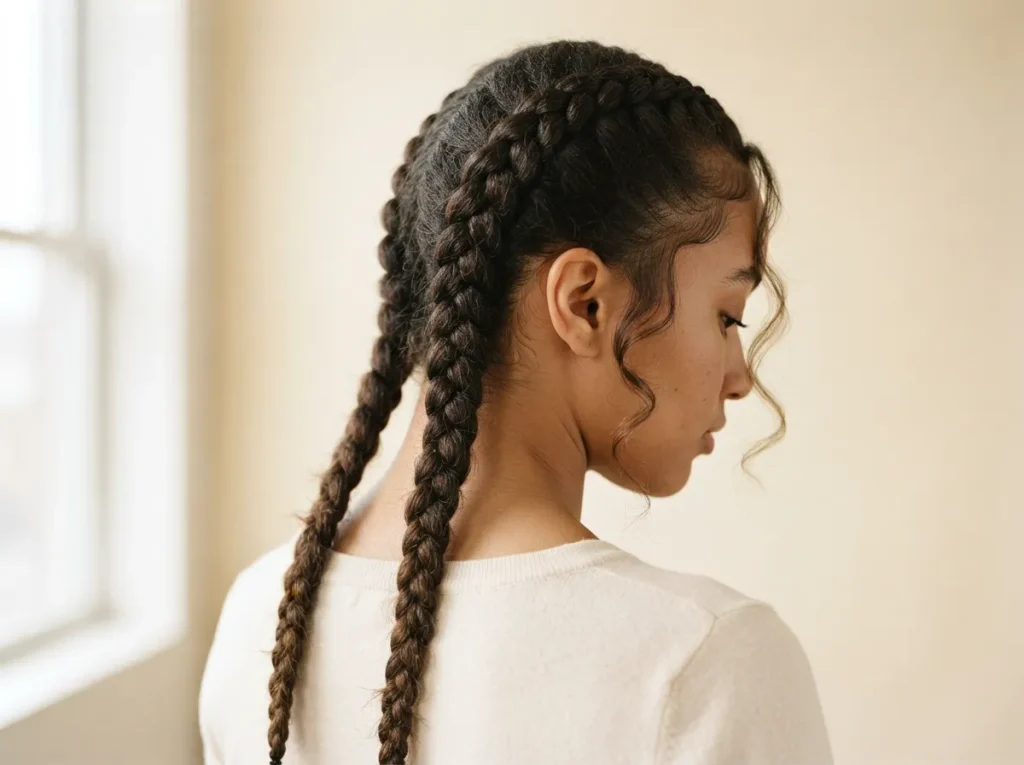
Leaving a few soft strands around the face can make structured braids feel more relaxed. This approach works particularly well if you prefer hairstyles that are polished without looking overly tight.
Before braiding, separate two small face-framing pieces near the temples. Clip them aside so they do not accidentally become part of the braid.
Create your double Dutch braids as usual, keeping the center part neat. Once both braids are secured, release the front strands and shape them naturally.
You can leave the pieces straight, follow your natural wave pattern, or curl them gently. Keep them thin so they frame the face rather than covering it.
If you have shorter front layers, they may fall out naturally during braiding. A small amount of styling cream can keep them soft and controlled.
This hairstyle works well for casual events and photos because the loose pieces soften the strong symmetry created by the two braids.
11. Extra-Thick Double Dutch Braids
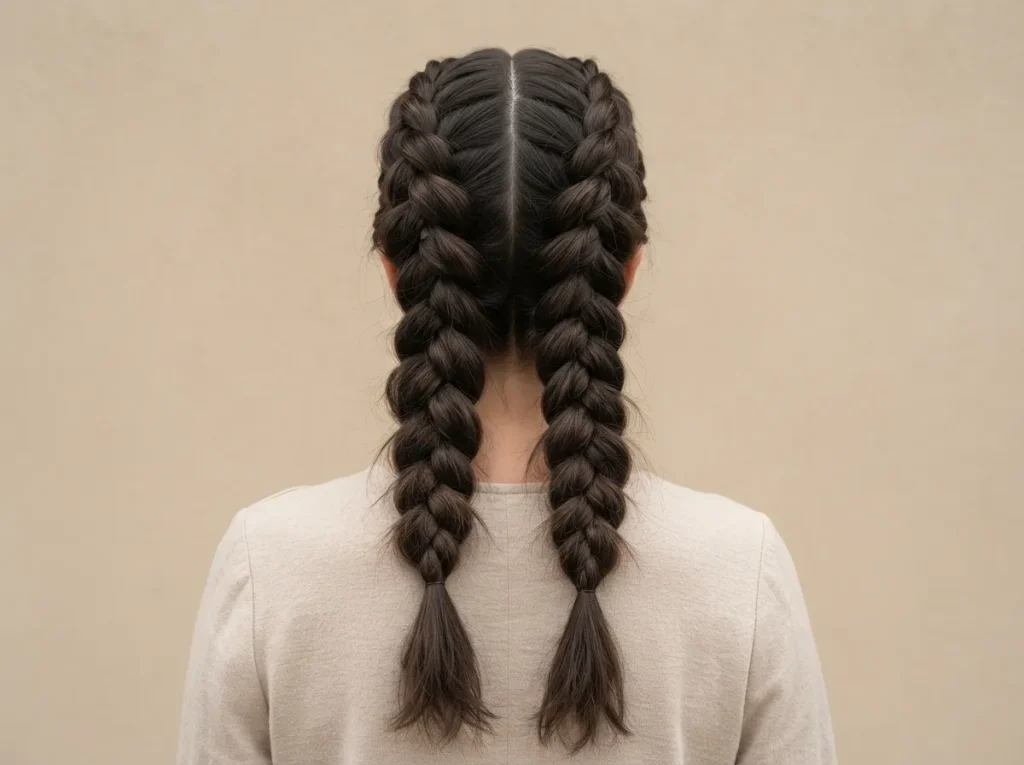
Extra-thick braids create a dramatic shape without requiring complicated accessories. The effect comes from carefully widening each braid after it has been completed.
Start with regular double Dutch braids and secure the ends. Beginning near the lower sections, gently pull the outside edges of each braid outward.
Move upward slowly and adjust both sides evenly. Small pulls are safer than one large tug, especially if your hair has layers.
This technique works very well on medium-density hair. Fine hair can appear fuller after light texturizing spray is applied before braiding.
Do not loosen the sections closest to the hairline too aggressively. Keeping the front secure helps the style stay intact while the middle and lower braid areas appear wider.
If one braid looks larger, adjust the other rather than trying to tighten the first one again. Finish with flexible hairspray to help the expanded sections hold their shape.
12. Zigzag-Part Double Dutch Braids

A zigzag center part adds visual interest before the braiding even begins. The braids themselves can stay classic, allowing the unusual parting to become the main detail.
Use the pointed end of a tail comb to create small alternating angles from the forehead toward the nape. Clip each side separately as you work so the sections stay clean.
Once the part is finished, create one Dutch braid on each side. Follow the natural boundary of the zigzag rather than trying to straighten it while braiding.
Keep the braids fairly neat so the part remains easy to see. A very loose braid may hide some of the center pattern.
This style works best when the scalp sections are smooth. Apply a small amount of styling cream along the part if short hairs tend to cross over.
For an easier DIY version, create wider zigzags rather than many tiny points. Larger sections are quicker to divide and easier to keep symmetrical.
13. Diagonal Double Dutch Braids

Diagonal braids change the familiar straight-back direction and give the hairstyle more movement. Instead of following parallel paths, each braid angles slightly across its side of the head.
Create a center part first, then decide where you want each braid to finish. Starting near the front, guide the braid toward the outer side of the nape rather than directly backward.
Your hand position controls the braid direction. Keep placing each newly added section toward the line you want the braid to follow.
This style is easier if you work slowly and check your direction after every few stitches. A second mirror can help when styling your own hair.
Keep the braided tails simple because the angled scalp pattern already provides enough detail. You can leave them tight or lightly loosen the lower sections.
Diagonal double Dutch braids are a good choice when you want something different while still using the same basic braiding technique.
14. Double Dutch Braids Into Ponytails
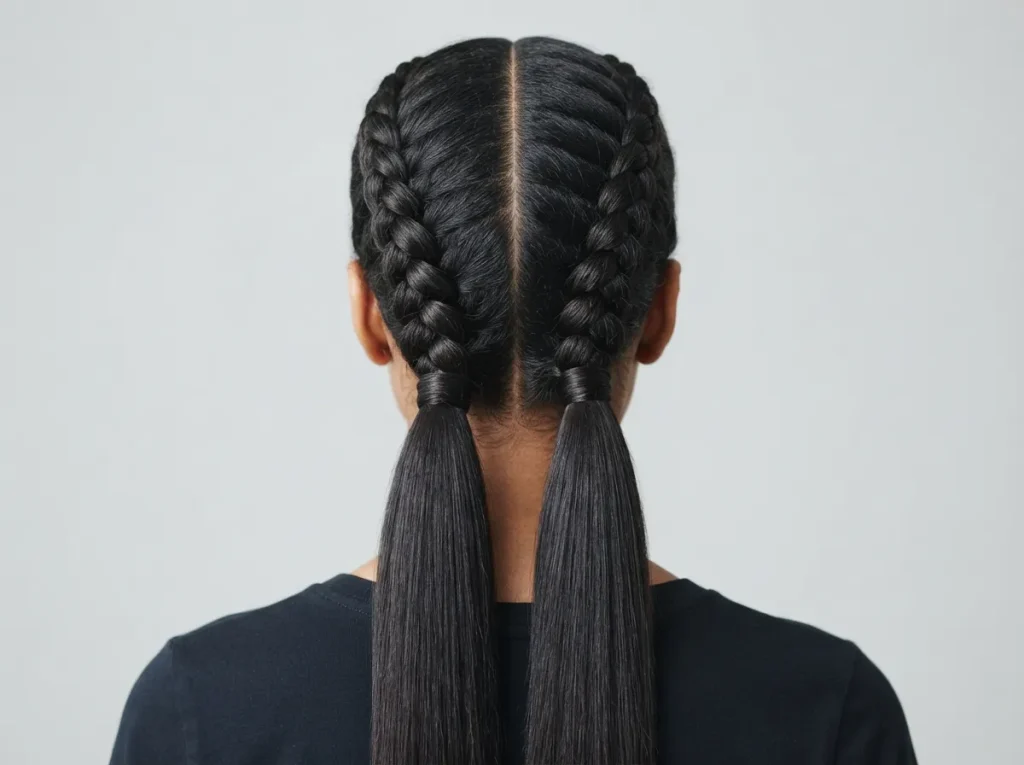
Stopping the braids at the nape and switching to ponytails creates a sporty style with more movement through the lengths. It is also faster than braiding all the way to the ends.
Create two Dutch braids from the front hairline and continue until all loose hair on each side has been added. Secure each braid at the nape with a strong elastic.
Leave the remaining lengths loose. Straight hair can stay sleek, while wavy or curly hair can keep its natural texture.
For a cleaner base, take a small strand from each ponytail and wrap it around the elastic, then pin it underneath. Skip this step if you want the style to remain very simple.
The ponytails can sit low or slightly higher depending on your preferred shape. Use comfortable tension around the hairline so the braids feel secure without being overly tight.
This style is practical for active days because the upper sections remain controlled while the lower hair stays free.
15. Half-Braided Double Dutch Style
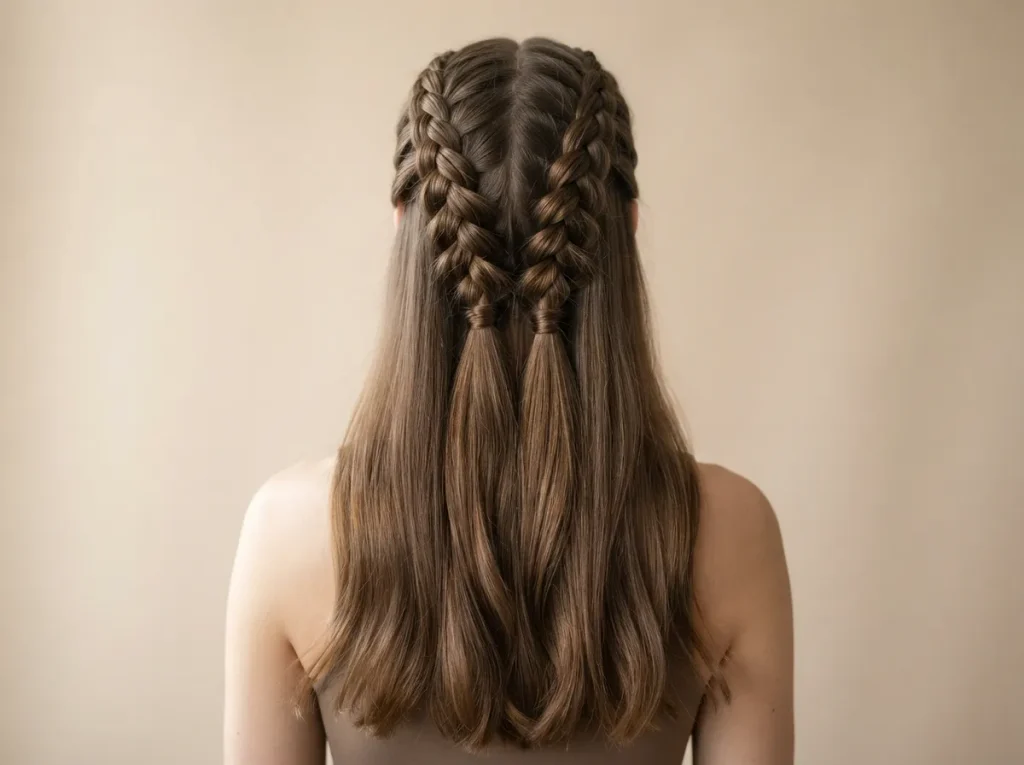
A half-braided version gives you the definition of Dutch braids without braiding the full length. It works well when you want to keep most of your hair loose.
Start two braids at the front and continue until you reach the crown or upper back of the head. Secure each section with a small elastic once you reach your chosen stopping point.
Leave the rest of the hair straight, wavy, or curly. This creates a clear difference between the structured top and free-moving lengths.
Try to position both elastics at the same height. Uneven placement becomes more noticeable when the lower hair is left loose.
If you want a softer finish, gently widen only the last few braid loops. Keep the first sections near the hairline more secure.
This style can also be useful when your hair is layered and shorter pieces make full-length braids difficult. The upper sections stay controlled while the remaining layers can fall naturally.
16. Double Dutch Braids for Medium-Length Hair
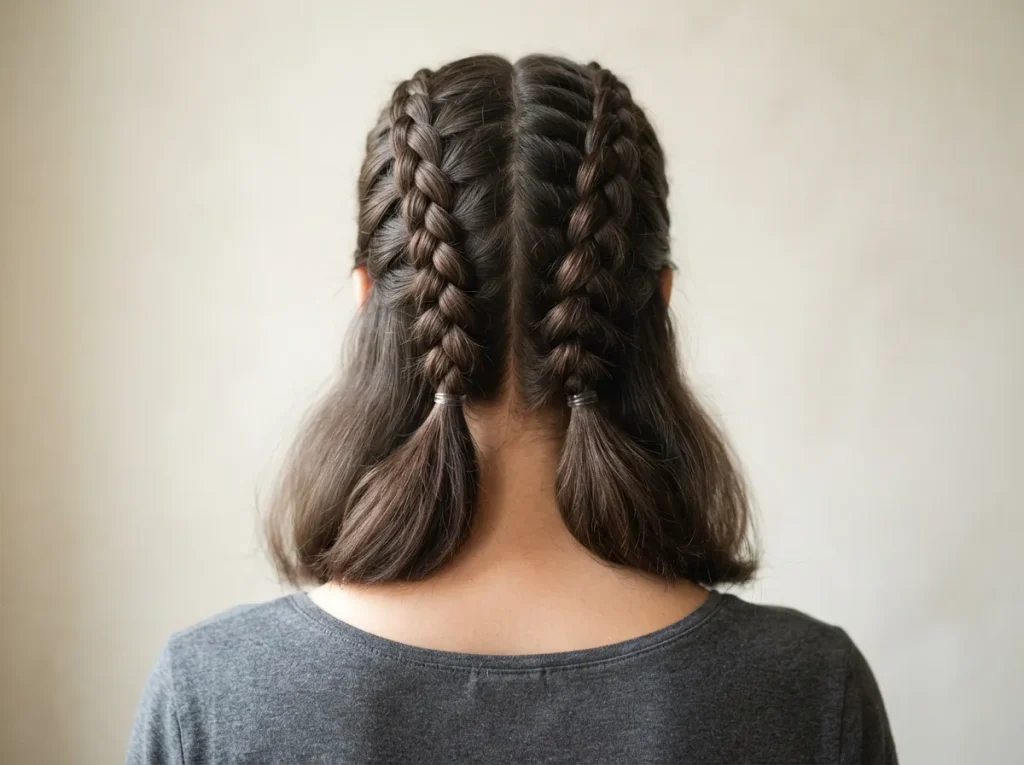
You do not need waist-length hair to wear double Dutch braids. Medium-length hair can create compact braids that look neat and practical.
Start with slightly smaller sections near the forehead so shorter layers are easier to incorporate. Add hair consistently as you move toward the nape.
Once you run out of loose hair, continue braiding as far as the length allows. Secure the ends with small elastics close to the tips.
If pieces begin slipping out around the neck, smooth them with a tiny amount of gel or pin them discreetly beneath the braid. Short layers often require lighter sections rather than larger handfuls of hair.
Avoid widening the braids too much because medium lengths have less hair holding each section together. A little loosening through the middle can still create softness.
This version works especially well for shoulder-length and collarbone-length hair that can be gathered comfortably into two sections.
17. Extra-Long Double Dutch Braids
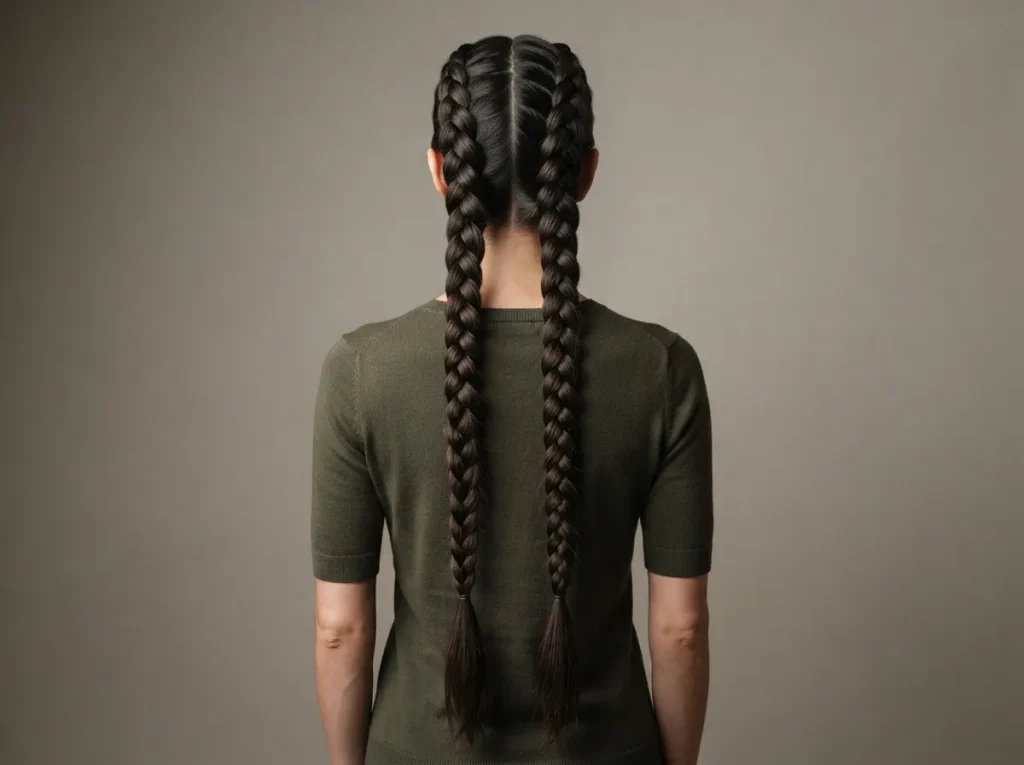
Long hair makes it possible to create striking braided tails that continue far below the shoulders. The main challenge is keeping the braid tension consistent as the length increases.
Detangle the hair thoroughly before starting. Knots near the ends can slow down the process and make the lower braid look uneven.
Create the scalp braids first, then bring the finished sections forward over your shoulders when the tails become difficult to reach behind you. Continue the three-strand pattern toward the ends.
Keep your hands close to the braid as you work. This helps prevent loose gaps from forming between sections.
If your arms become tired, pause after securing one side rather than rushing through the second braid. Matching both sides is easier when you work carefully.
Apply a small amount of lightweight serum to the lower lengths before braiding if the ends feel dry. This can help long strands pass smoothly through your fingers.
18. Mini Double Dutch Braids With Loose Hair
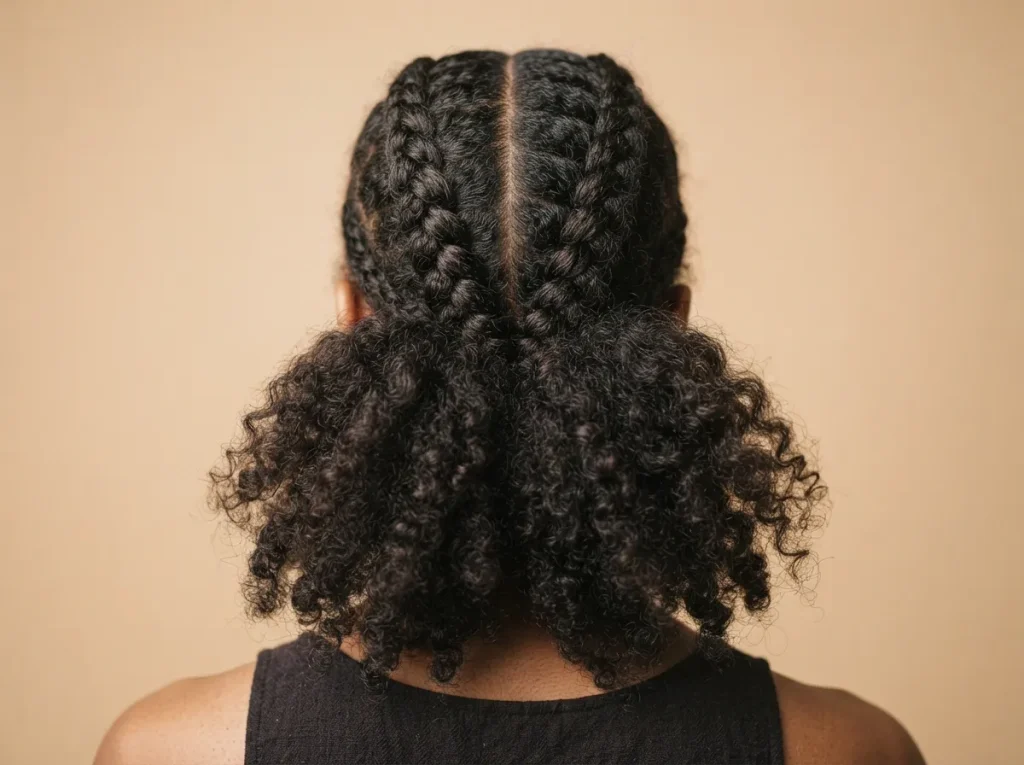
Mini Dutch braids are a lighter option when you want braided detail without dividing all of your hair into two large sections. They work well across the upper scalp while leaving most of the length loose.
Create a center part, then take a narrow section of hair on each side near the top of the head. Dutch braid each section backward, adding only hair from within that smaller area.
Stop around the crown and secure the braids with tiny elastics. Let the remaining hair fall naturally around them.
This style looks especially pretty with waves or curls because the narrow braids contrast with the fuller loose texture. Straight hair creates a cleaner graphic effect.
Keep each braid small and even rather than adding too much hair. Narrow sections create the intended mini-braid look.
You can wear this style when growing out shorter layers because only the upper sections have to stay inside the braid.
19. Tucked Double Dutch Braids
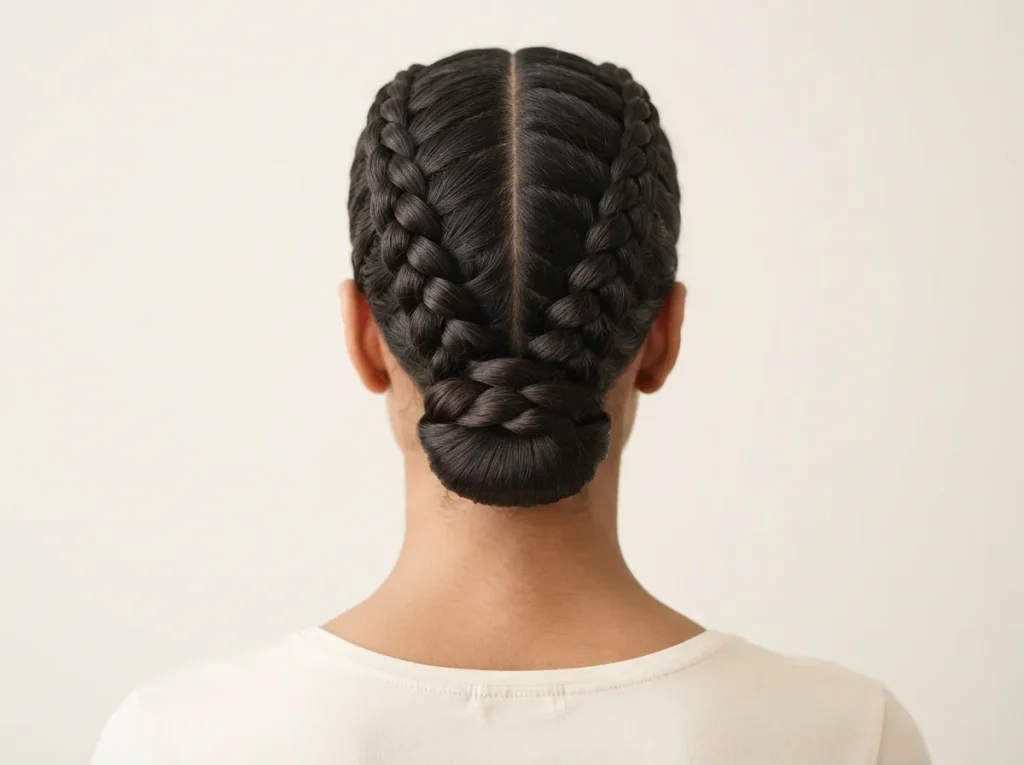
Tucking the ends underneath creates a clean hairstyle that looks more compact than traditional hanging braids. It is useful when you want the braided texture without long tails.
Create two Dutch braids all the way to the ends and secure them with small elastics. Fold each braid upward toward the nape and tuck the tail underneath the scalp braid.
Use bobby pins that match your hair color to hold everything securely. Insert the pins beneath the braid so they stay hidden.
For a softer appearance, loosen the braid edges slightly before pinning the tails. If you want a more polished finish, keep the braid pattern tight.
This style works best on medium to long hair because you need enough length to fold the ends under. Very thick hair may require several pins on each side.
Check the back with a mirror before finishing. Adjust any visible elastic or loose end until the tucked area looks smooth.
20. Soft Messy Double Dutch Braids
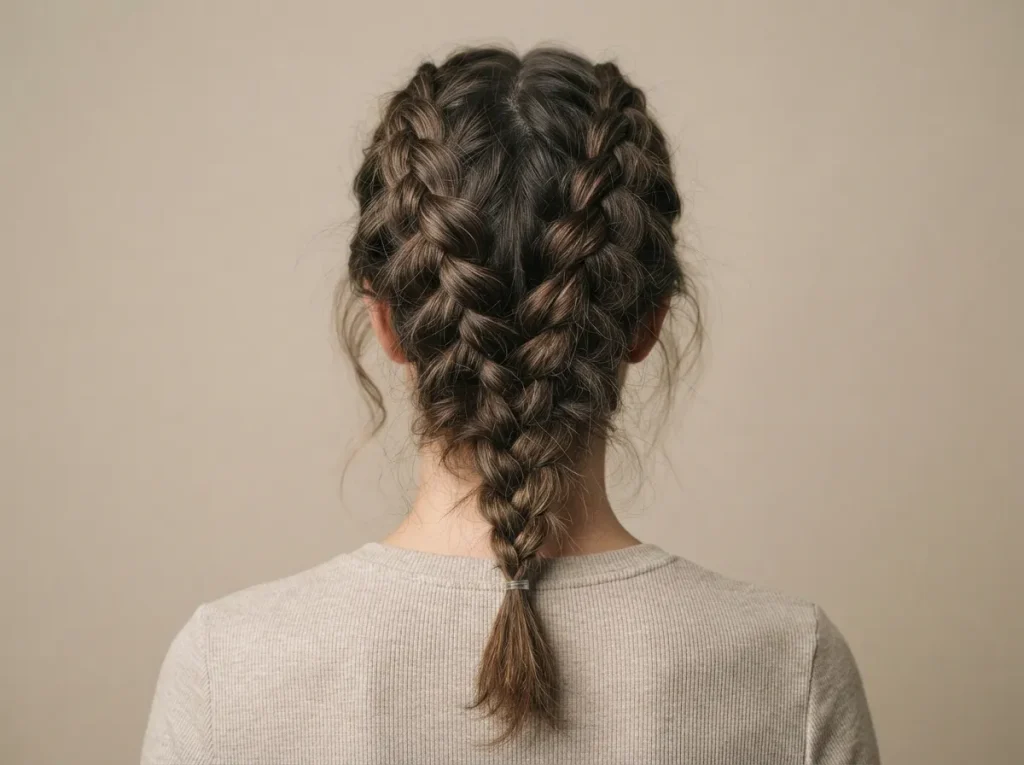
A slightly undone finish can make double Dutch braids feel casual and effortless. The goal is controlled softness rather than allowing the braids to lose their structure.
Create the braids normally and secure them first. Then gently pull the outer edges wider, focusing on the middle and lower sections.
Use your fingertips to release a few tiny strands near the temples and ears. Avoid pulling out large pieces because they can make the style look unfinished.
This approach works especially well on naturally wavy hair or hair with some texture. Very slippery straight hair may benefit from a light texture spray before braiding.
Keep the center part fairly clean. The contrast between a defined part and softer braids makes the hairstyle look intentional.
If you plan to wear the braids all day, apply a small amount of flexible hairspray. Avoid stiff formulas that make the loosened sections look crunchy or overly fixed.
21. Sporty Double Dutch Braids
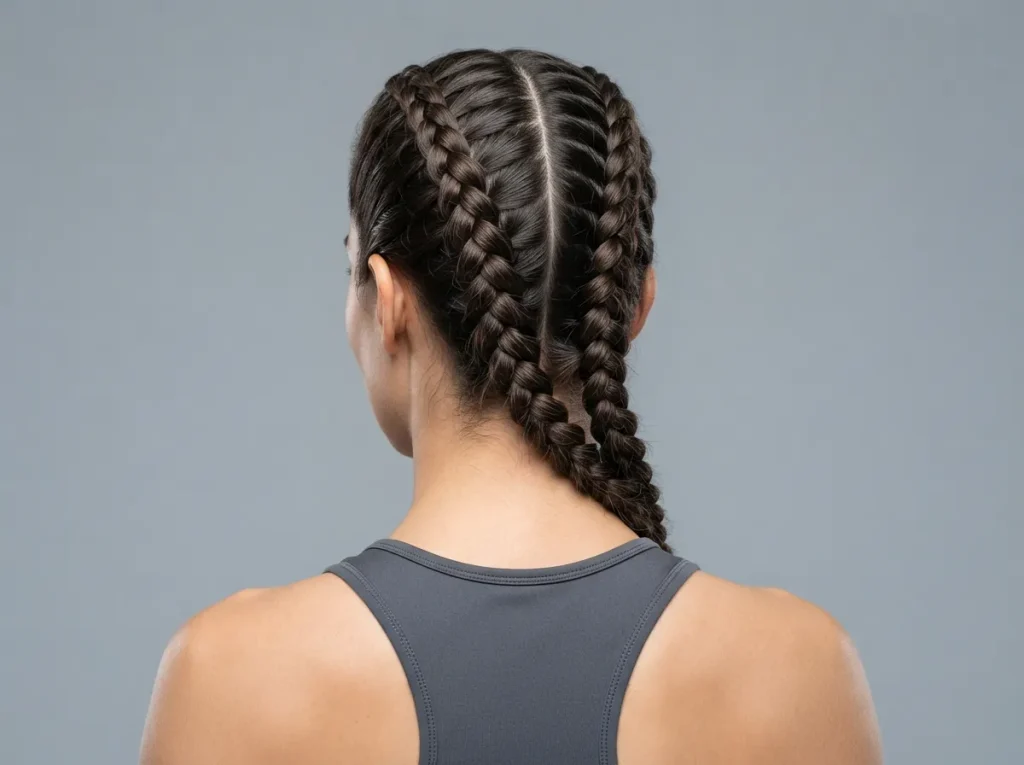
Double Dutch braids are practical for exercise because they keep hair divided, secured, and away from the face. A tighter version works well for running, gym sessions, dance, and other active routines.
Start with dry, detangled hair and create a straight center part. Keep the braid sections relatively small around the front so short hairs are less likely to escape.
Use firm but comfortable tension while braiding. The hairstyle should stay secure without causing pulling or scalp discomfort.
A light styling gel can control flyaways around the hairline. Use only a small amount so the roots do not become overly coated.
Braid all the way to the ends and use secure elastics that will not slide during movement. Avoid bulky hair ties because they can feel uncomfortable when the braids swing.
After exercising, allow the scalp and hair to dry before covering or restyling them. If the braids become damp, loosening them afterward may help prevent prolonged moisture around the roots.
22. Relaxed Double Dutch Braids for an Outdoor Look

A relaxed braided style works beautifully for outdoor gatherings, casual photos, picnics, and warm-weather days. The braids keep the hair controlled while a slightly softer finish gives them an easygoing appearance.
Start with standard double Dutch braids, then widen a few sections around the crown and middle. Leave the ends slightly looser rather than pulling every strand tightly.
Release one or two fine strands around the face if you like a softer frame. Keep them light so wind does not make the style difficult to manage.
A small amount of flexible-hold spray can help the braids stay in place outdoors. Avoid heavy formulas that remove natural movement.
If the weather is humid, smoothing cream around the part and hairline can help control flyaways. Secure the ends well so they do not loosen during the day.
This version photographs nicely because the raised braid texture remains visible while the softer finish keeps the hairstyle relaxed.
Conclusion
Double Dutch braids can be adapted in many ways without changing the basic braiding technique. You can keep them sleek and tight, loosen them for extra width, turn the ends into buns, stop at ponytails, work with curls, or leave part of the hair loose.
The best style depends on your hair length, texture, daily plans, and how much time you want to spend styling. Classic braids are practical for active days, while softer versions with waves or face-framing strands work well for casual and dressier settings.
Choose one or two double Dutch braid ideas that match your current skill level and practice the sectioning before trying more detailed variations. Start with a clean center part, use comfortable tension, and work with small consistent sections. Once the basic braid feels easy, changing the placement, fullness, or finish becomes much simpler.